Content
A wheel hub unit is a one‑piece assembly that combines the wheel bearing, hub flange, and often the ABS speed sensor into a single package. On older cars, you had to press a separate bearing into the spindle or knuckle – messy and easy to mess up. Modern wheel hub units simply bolt onto the steering knuckle. The wheel bolts to the flange, and the whole thing spins quietly for tens of thousands of miles. You'll find them on nearly every front‑wheel‑drive car and many newer trucks and SUVs.
Parts catalogs talk about “generations” of wheel hub units. Knowing the difference saves you from ordering the wrong part.
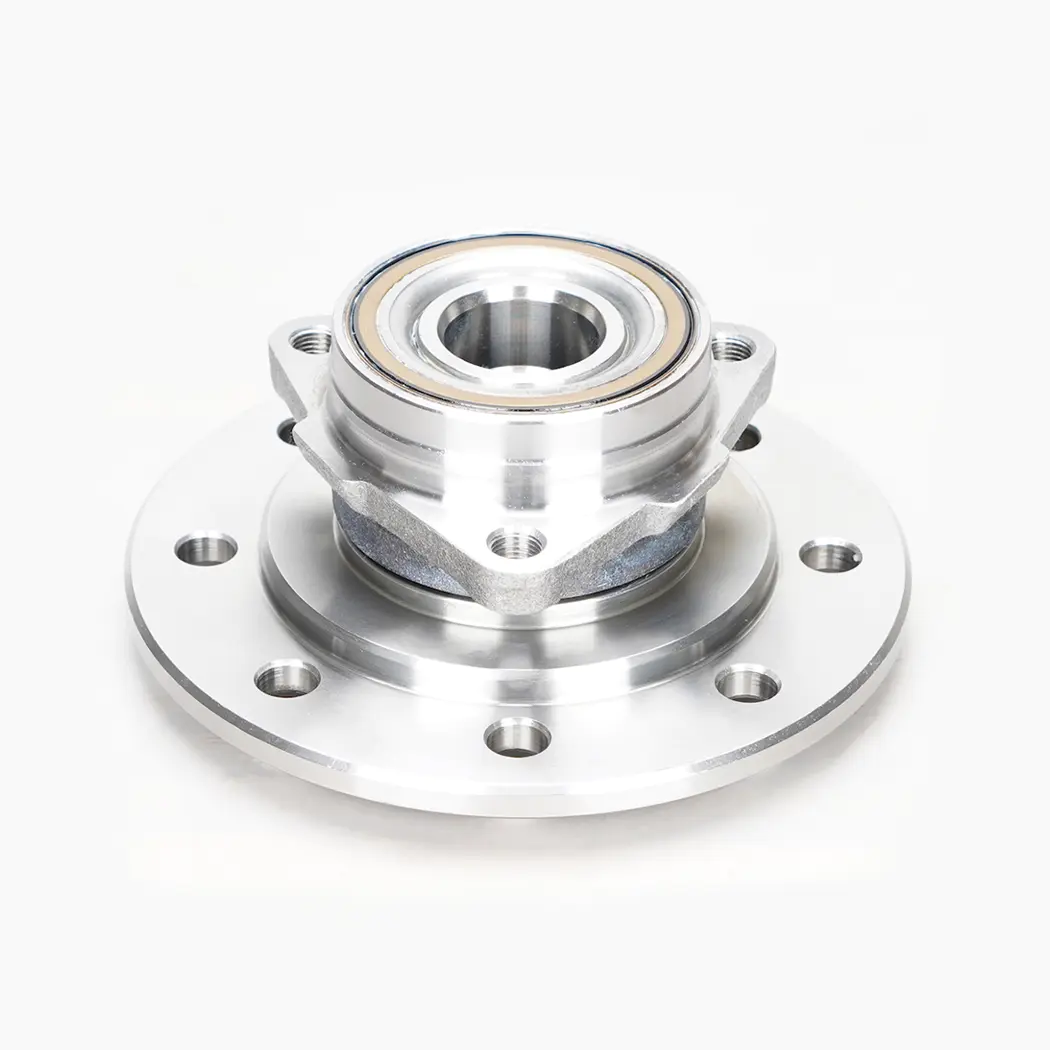
This is the simplest type. A double‑row ball bearing is pre‑loaded inside a housing with a flange. The outside bolts to the knuckle, and the inside splines drive the wheel. No integrated sensor ring. The ABS uses a separate tone ring pressed onto the axle shaft or CV joint. Found on older 1990s‑2000s cars like Honda Civics and Ford Focus.
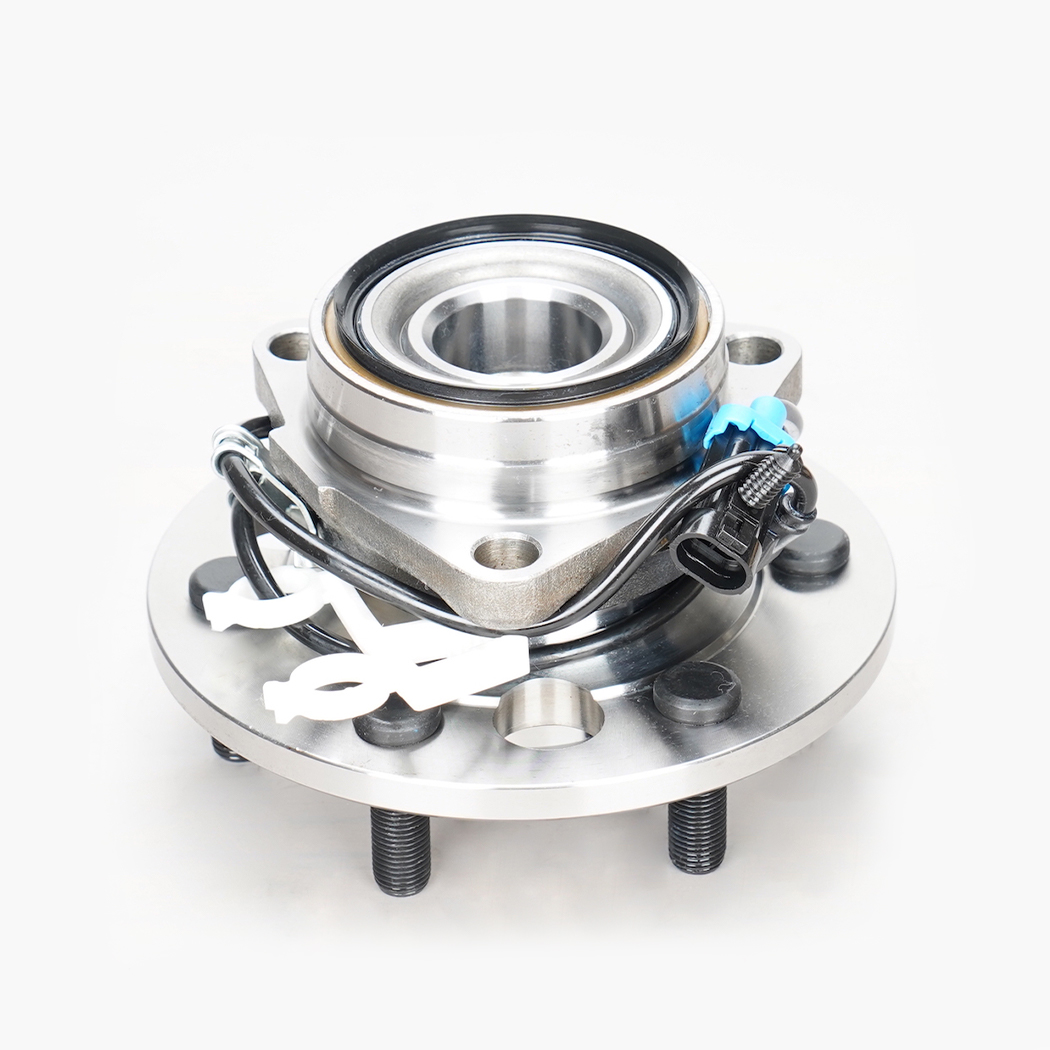
The magnetic encoder ring is built into the hub seal. The ABS sensor reads it through a small hole in the knuckle. This makes the system more compact and reliable because dirt can’t block the tone wheel. Most sedans and crossovers from the mid‑2000s onward use Gen 2 wheel hub units.
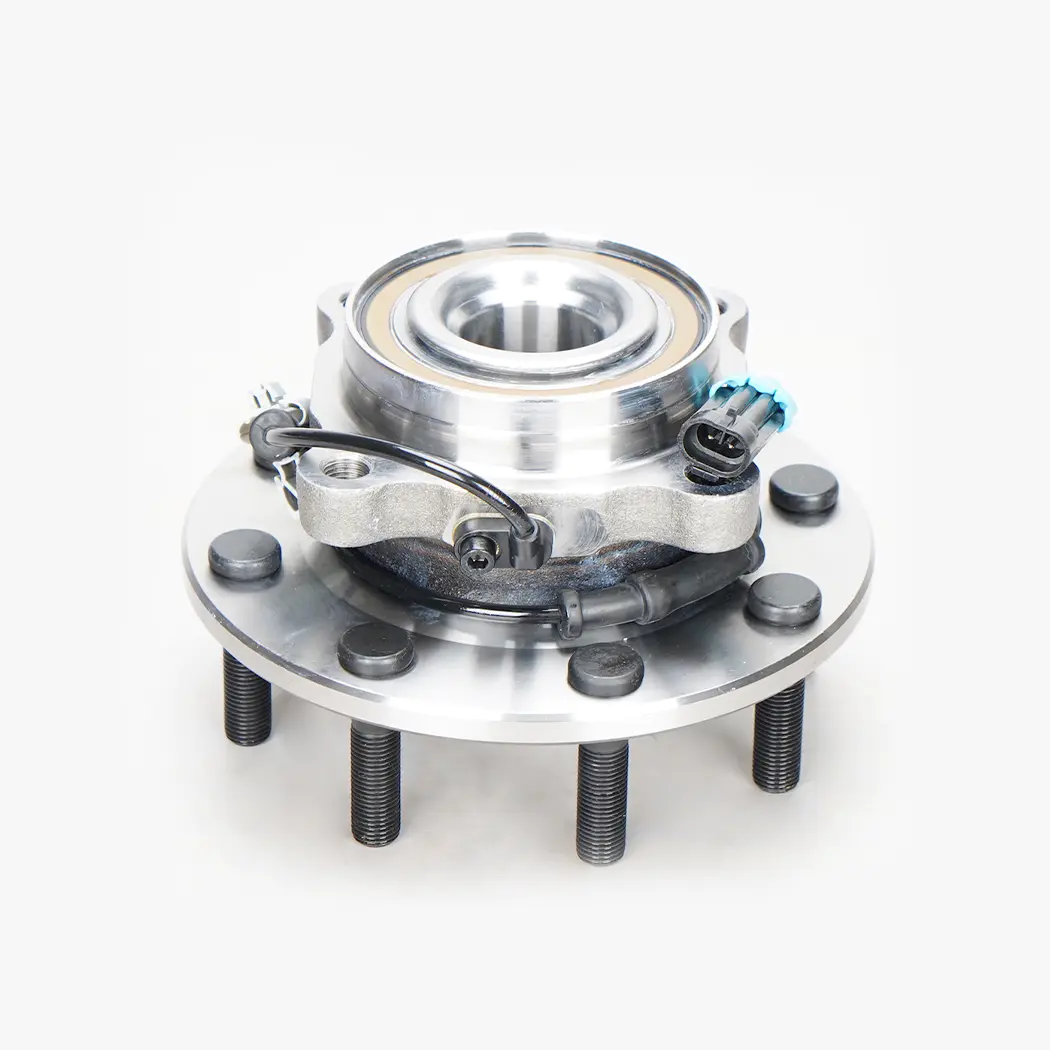
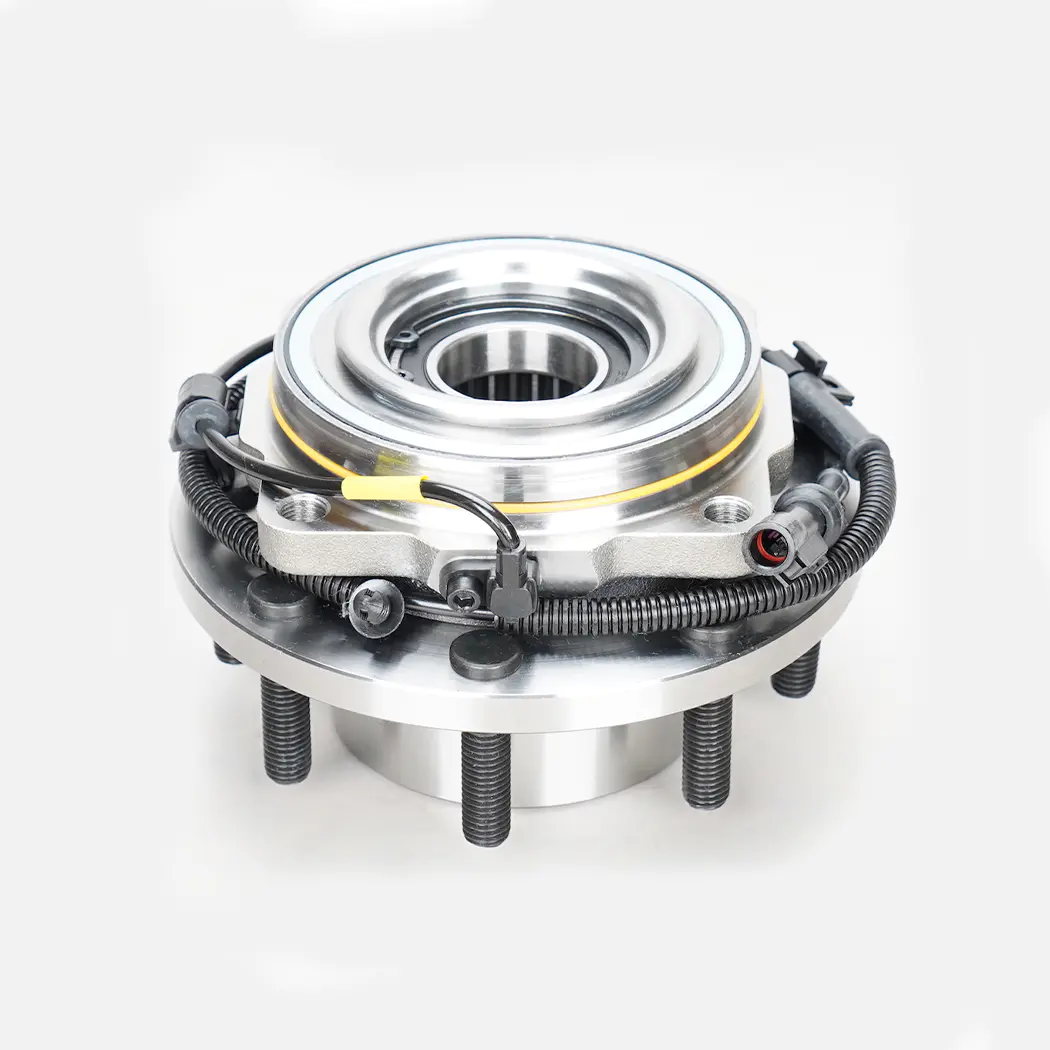
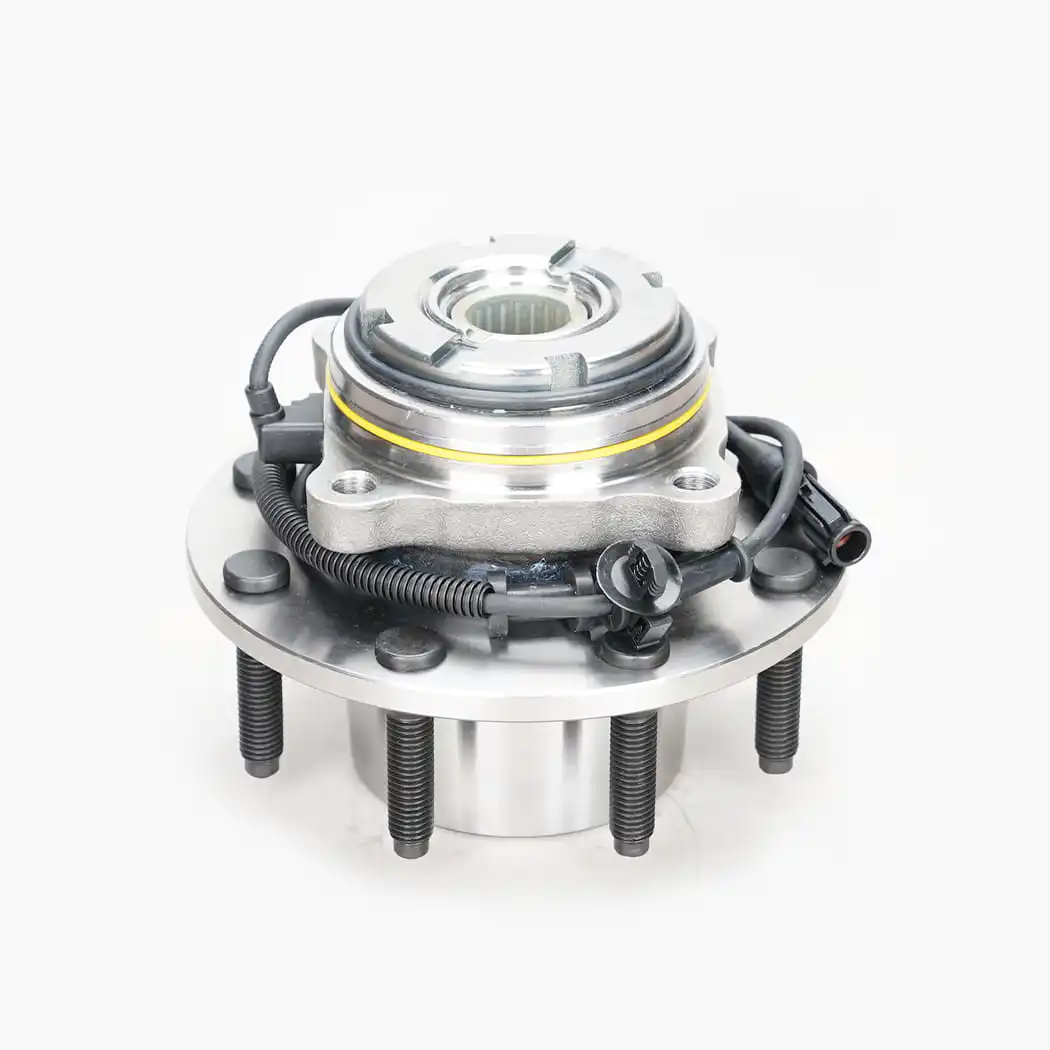
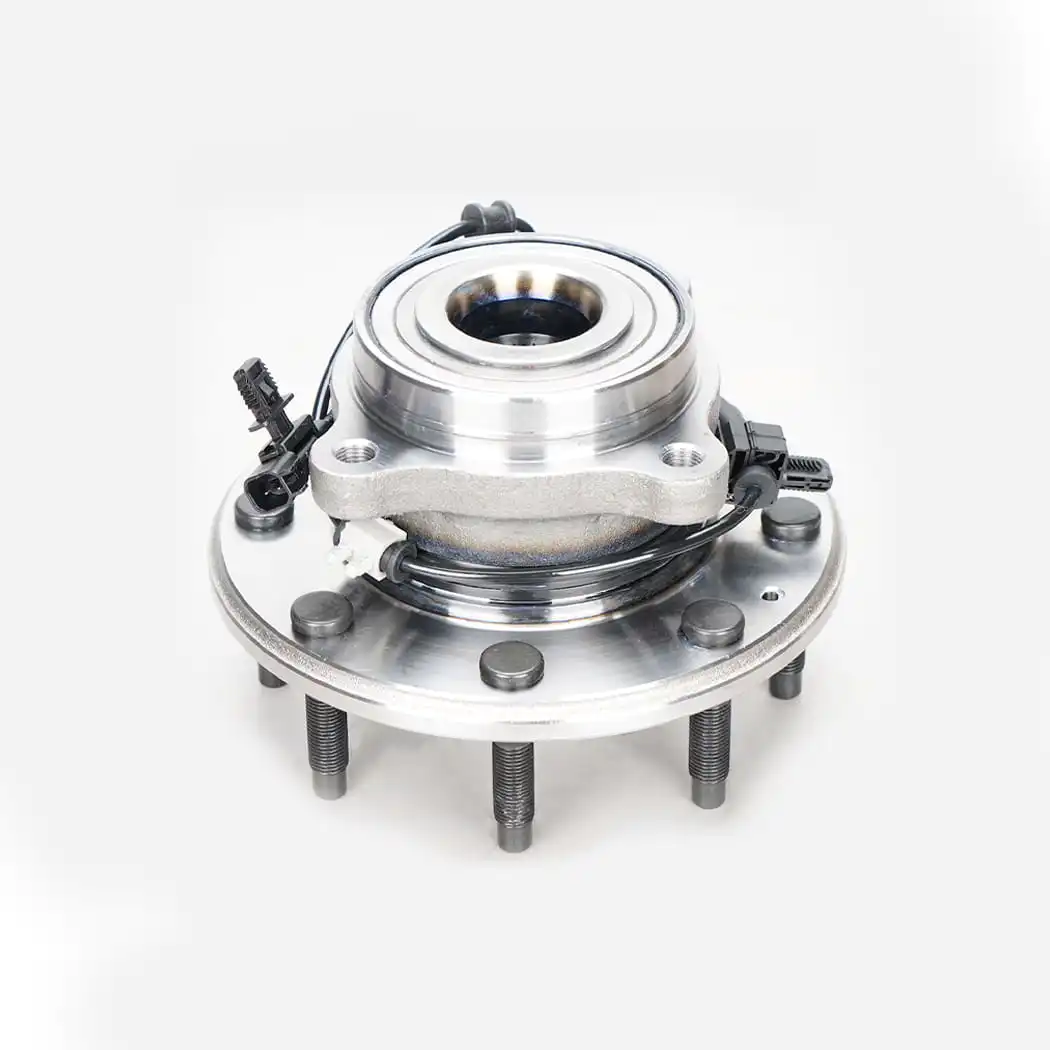
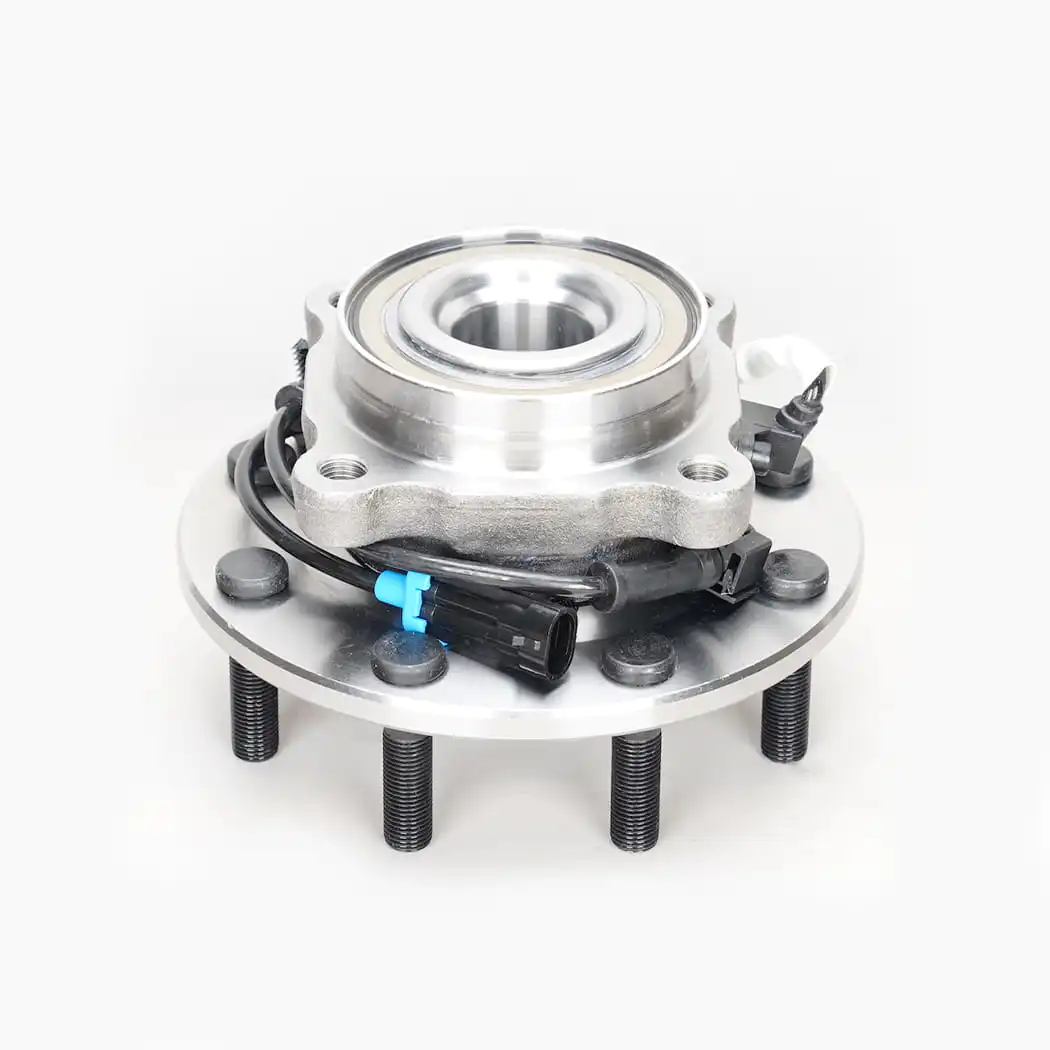
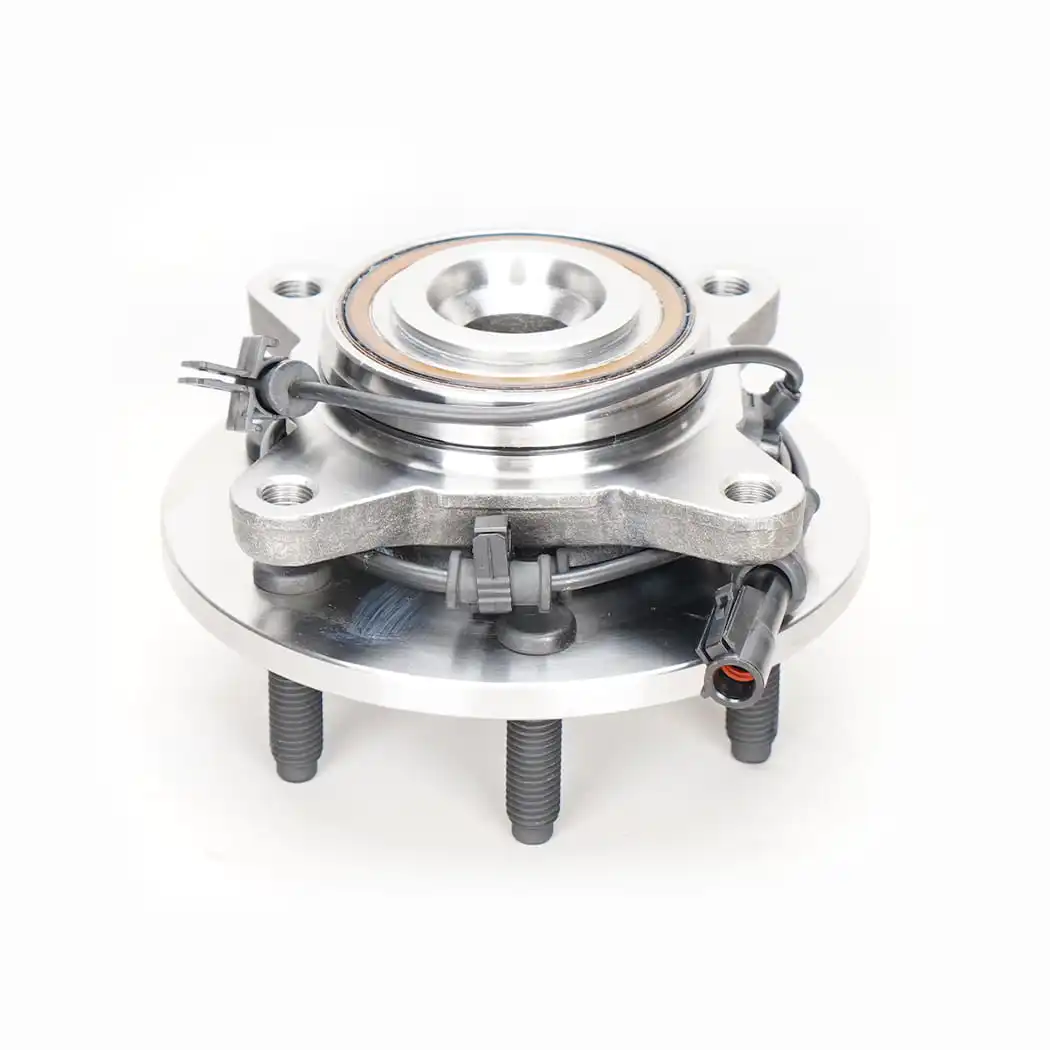
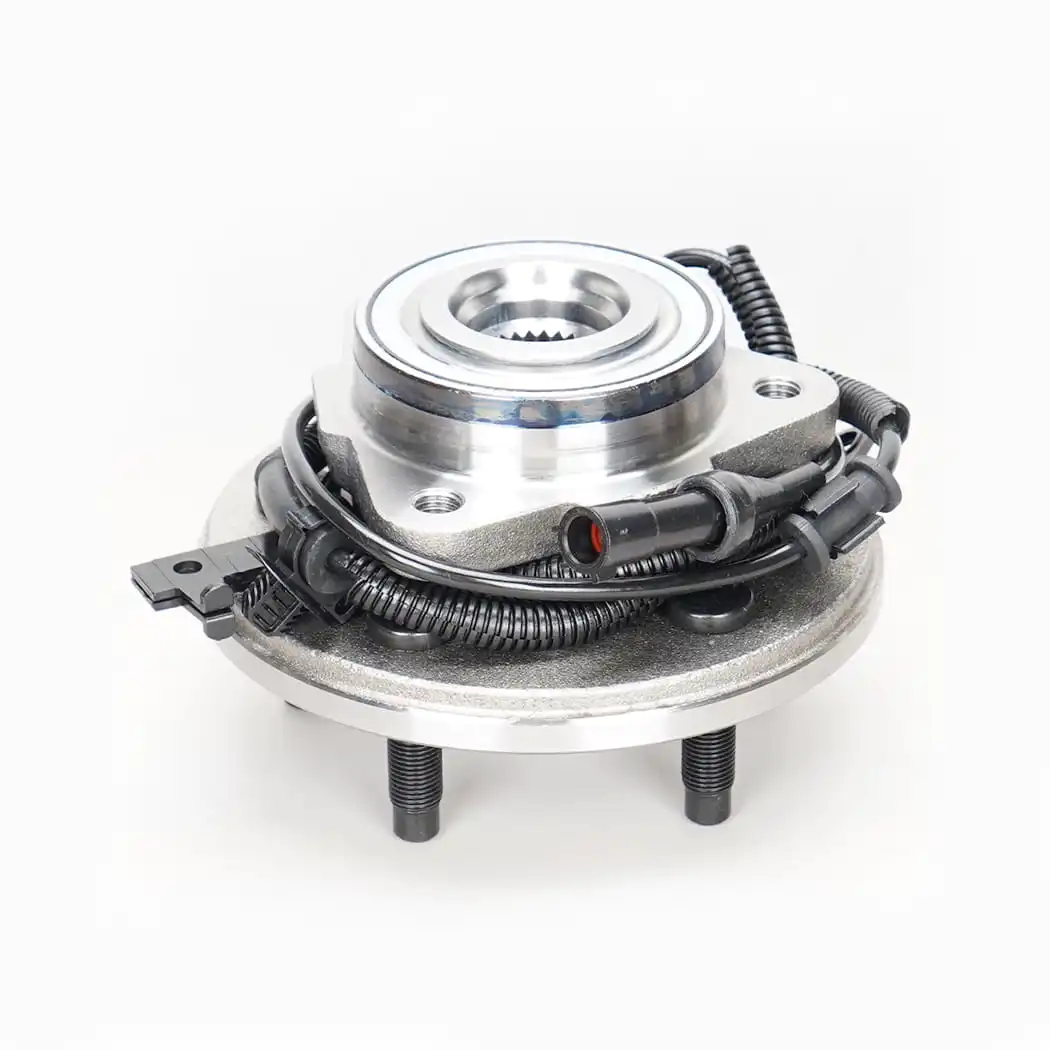
The ABS sensor comes pre‑installed and clicks into a connector. Often the hub unit also includes the wheel studs and a flange that directly bolts onto the suspension upright with four bolts. These are super easy to replace – no press, no separate sensor to handle. Common on GM trucks, BMWs, and many SUVs.
Catching a bad hub early saves your tires and axle components. Listen and feel for these classic signs.
One quick test: jack up that corner, grab the tire at 12 and 6 o’clock, and rock it. If you feel play (more than 1mm of movement), the wheel hub unit is shot. Also spin the wheel and listen for a rough, grating feel.
Never buy by “looks similar”. Even same‑year cars can have different hub units based on engine size or brake option. Here’s how to match correctly.
| Method | What to Check | Why It Matters |
| VIN lookup | Full 17‑digit VIN from dashboard or door sticker | Dealer parts sites give exact OEM number |
| Bolt pattern (PCD) | 4×100, 5×112, 5×114.3 etc. | Wheel won't mount if wrong |
| Number of bolts on hub flange | Usually 3 or 4 bolts holding unit to knuckle | Different generations look similar but differ here |
| ABS sensor style | Integrated plug vs. separate sensor hole | ABS won't work, dash light stays on |
| Flange diameter and offset | Measure the distance from mounting face to center | Wrong offset pushes wheel out or in, messing alignment |
When in doubt, take the old wheel hub unit off and compare side‑by‑side with the new one. Count the bolt holes, measure the ABS ring teeth (if visible), and check the electrical connector color – manufacturers often change connector colors for different generations.
This job is medium‑difficulty. You’ll need basic hand tools, a torque wrench, and often a impact wrench for rusty bolts. Here’s the safe way.
You’ll see prices from $40 to $400 for the same car. Here’s what you actually get.
| Feature | Budget (<$80) | Mid‑range ($80‑$180) | Premium (OEM, $180+) |
| Bearing quality | Standard steel, loose tolerances | Low‑noise Japanese or Korean bearings | High‑grade German/Japanese bearings, better seals |
| ABS encoder | Magnetic rubber, can delaminate | Encapsulated multi‑pole ring | Forged or laser‑welded ring, zero false ABS codes |
| Corrosion protection | Light paint only, rusts in 1‑2 winters | E‑coated or zinc plated | Salt spray tested, 5+ year anti‑rust |
| Warranty | 30 days to 1 year | 1‑2 years | 2‑3 years or more (lifetime on some brands) |
For a daily driver in the rust belt, don't buy the cheapest. Mid‑range units from brands like SKF, Timken, or NTN are the sweet spot. For luxury cars or leased vehicles you plan to keep long term, go OEM or premium aftermarket.
A brand new wheel hub unit can fail in a month if you do these things. Avoid them.
One of the toughest steps is removing the giant axle nut. With the car on the ground, have a helper step on the brake pedal, then put a breaker bar on the nut and give it a sharp push (or use a long pipe). The car’s weight stops the hub from spinning. Crack it loose, then lift the car and finish removing. This simple trick saves hours of frustration and broken tools.
• ADD: 42705 Grand River Avenue, Suite 201, Novi. Michigan 48375, USA.
© Copyright 2017 HANGZHOU HANJI AUTO PARTS.CO.,LTD. All Rights Reserved. Wheel Hub Unit Manufacturer