Content
A wheel hub assembly is the component that connects your vehicle's wheel to the axle and allows it to spin freely while supporting the weight of the car. It sits at the center of each wheel and contains a sealed bearing unit, a hub flange (the flat face that the wheel bolts onto), and in most modern vehicles, an integrated wheel speed sensor that feeds data to the ABS and traction control systems. Everything that allows your wheel to rotate smoothly and safely — while carrying thousands of pounds of vehicle load — runs through the hub assembly.
The hub bearing assembly serves two simultaneous functions that are easy to overlook: it must allow the wheel to rotate with minimal friction while also bearing the radial load (the vehicle's weight pressing down) and axial load (the lateral forces generated during cornering). The sealed bearing inside the assembly handles both, packed with grease and enclosed within the hub unit so that no external lubrication or adjustment is required over the life of the part — which, under normal conditions, is typically 85,000 to 100,000 miles.
On driven axles (front wheels on FWD vehicles, rear wheels on RWD, or all wheels on AWD), the wheel hub assembly also has a splined center bore that engages with the CV axle shaft, transmitting engine torque to the wheel. On non-driven axles, the center bore exists but carries no drive shaft — the hub simply rotates freely around a fixed spindle. This distinction affects both the design of the hub unit and the procedure required to replace it.
Wheel hub bearing technology has evolved through three distinct generations, and understanding the differences matters when you're sourcing a replacement or diagnosing a problem. Each generation reflects different design priorities around integration, serviceability, and weight.
First-generation hub bearings are the oldest design and consist of separate, serviceable components — typically a pair of tapered roller bearings pressed into the steering knuckle, with a separate hub that the bearings ride on. These setups require periodic cleaning, repacking with grease, and adjustment of bearing preload. Gen 1 designs are still common on older vehicles, light trucks, and some heavy-duty applications. While more labor-intensive to service, individual bearing components can be replaced without replacing the entire hub, which can reduce parts cost on applications where they're available.
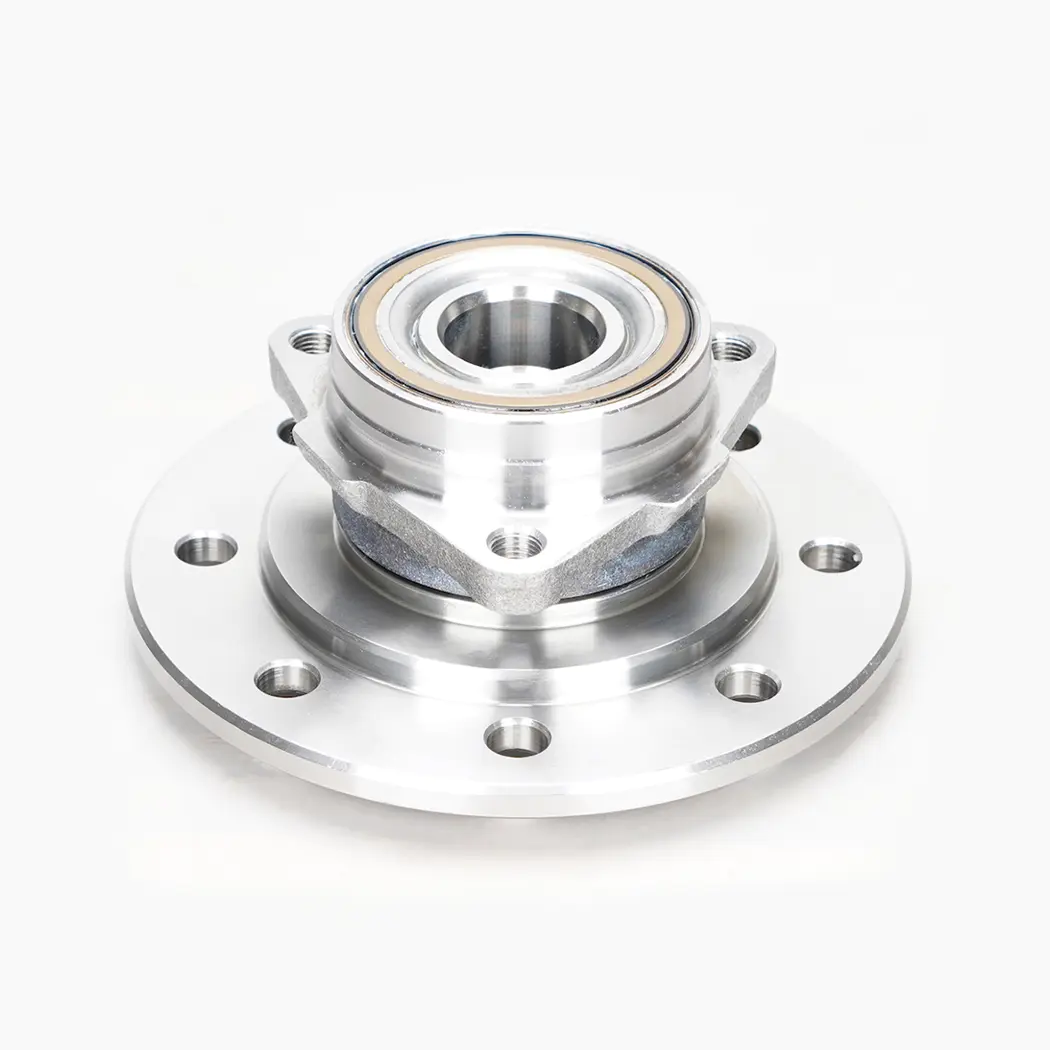
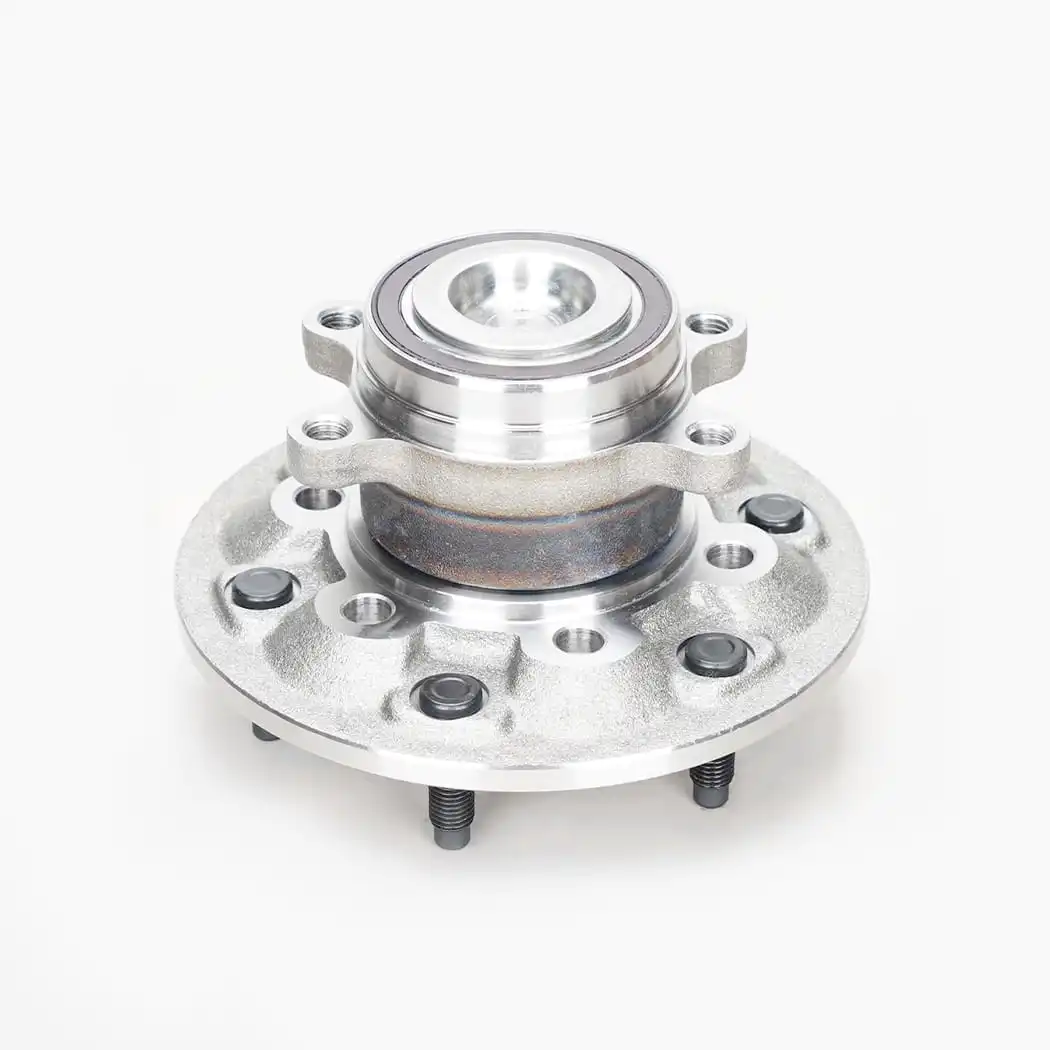
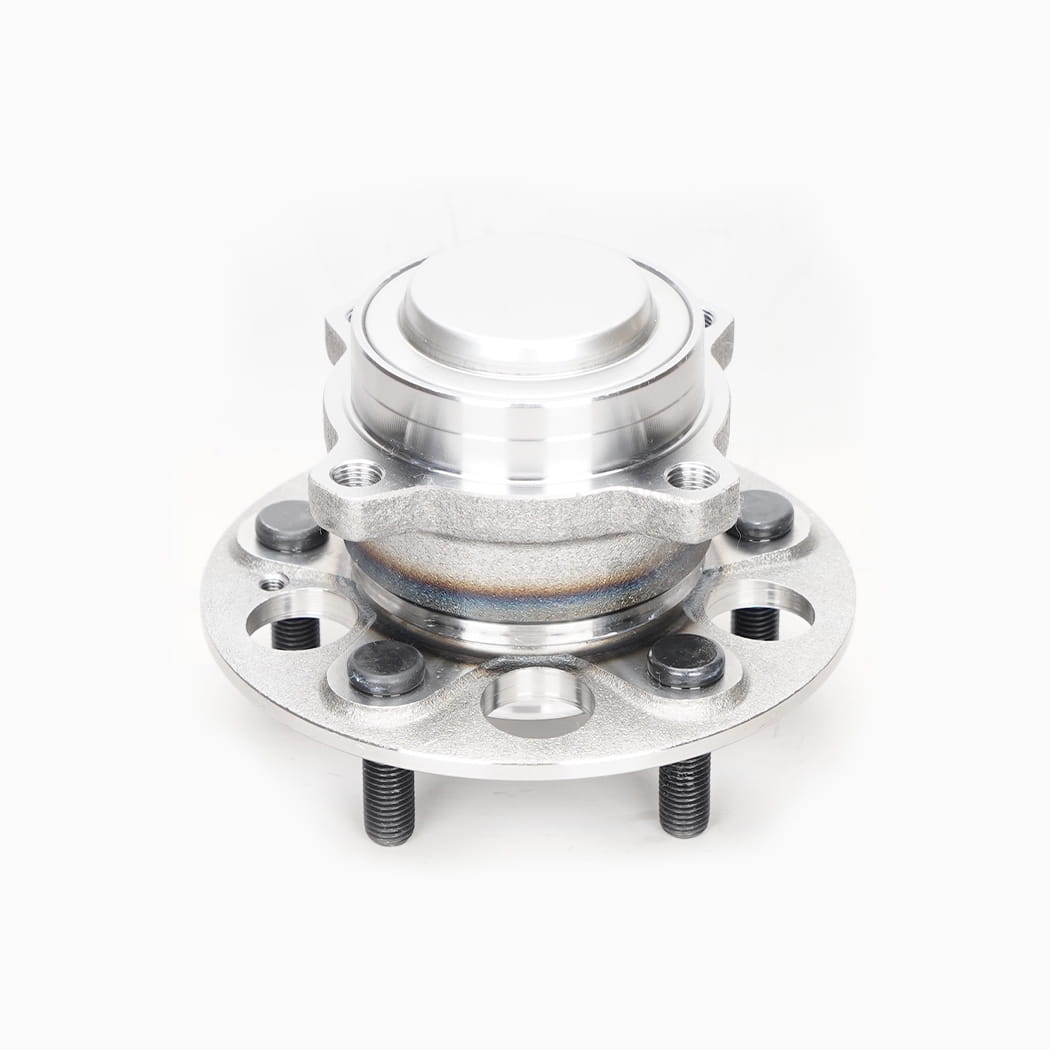
Second-generation hub units integrate the bearing into a flanged outer race that bolts directly to the steering knuckle, but the hub itself is still a separate component that must be pressed in or out. The bearing is sealed and pre-greased, eliminating the need for periodic repacking. Gen 2 units are common on rear non-driven axles and some front applications. Replacement typically requires a hydraulic press to separate the hub from the bearing, making it a shop-level repair rather than a simple DIY job in most cases.
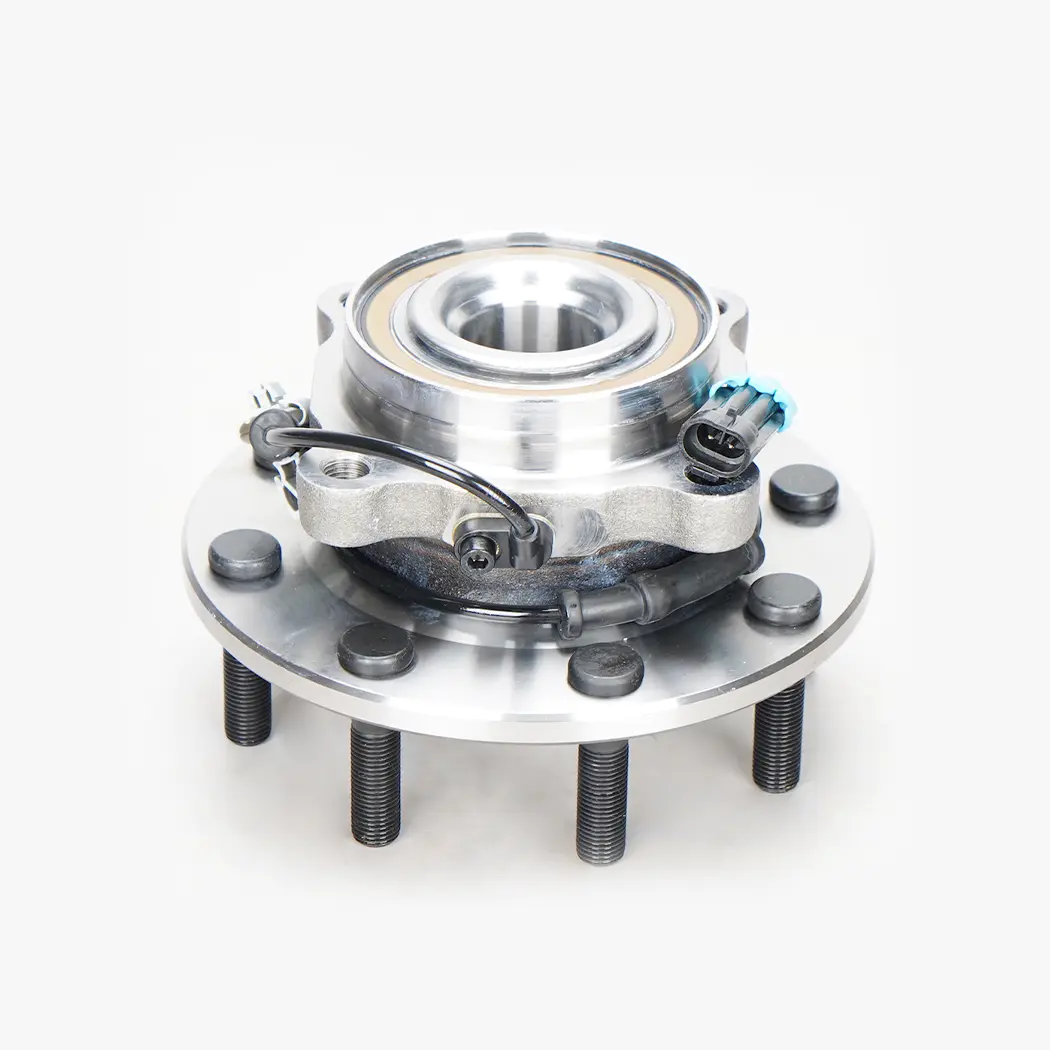
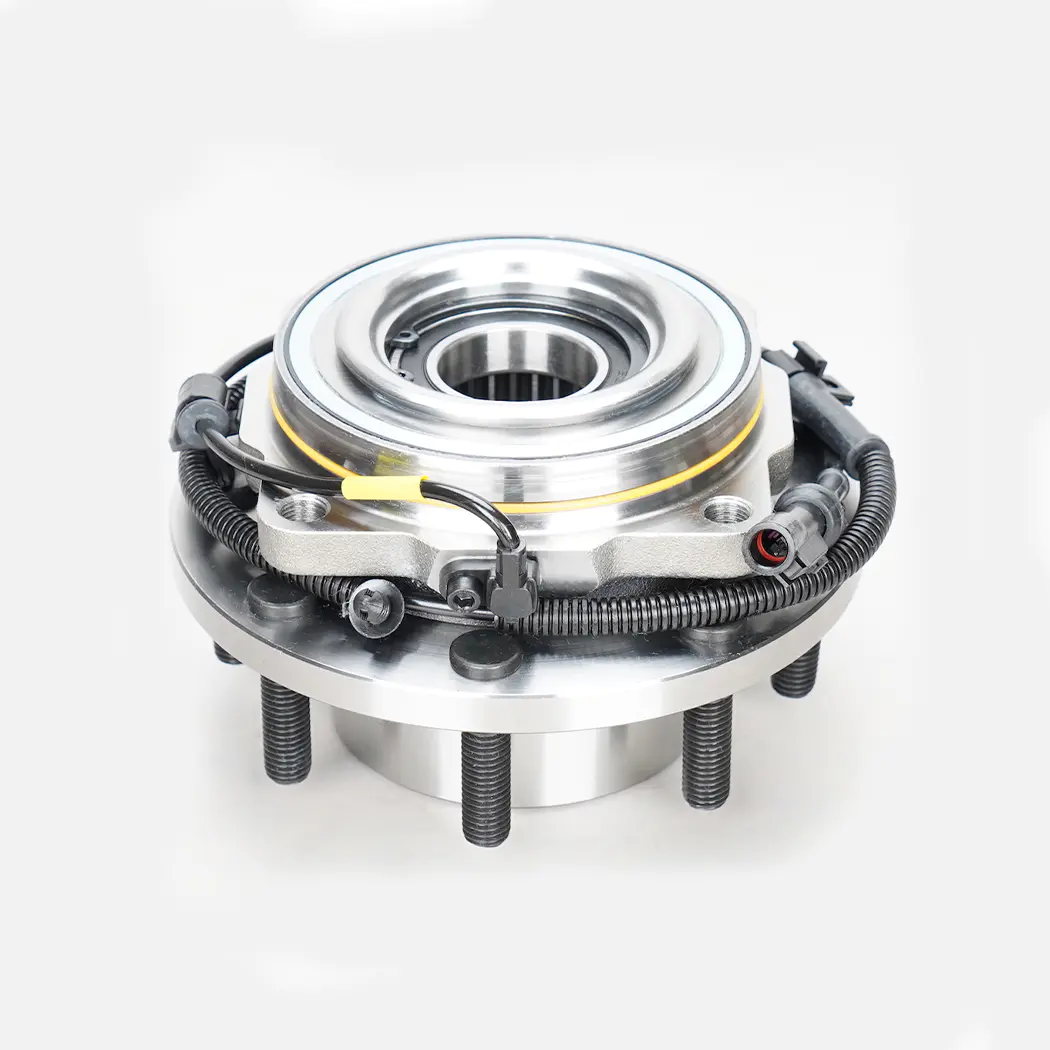
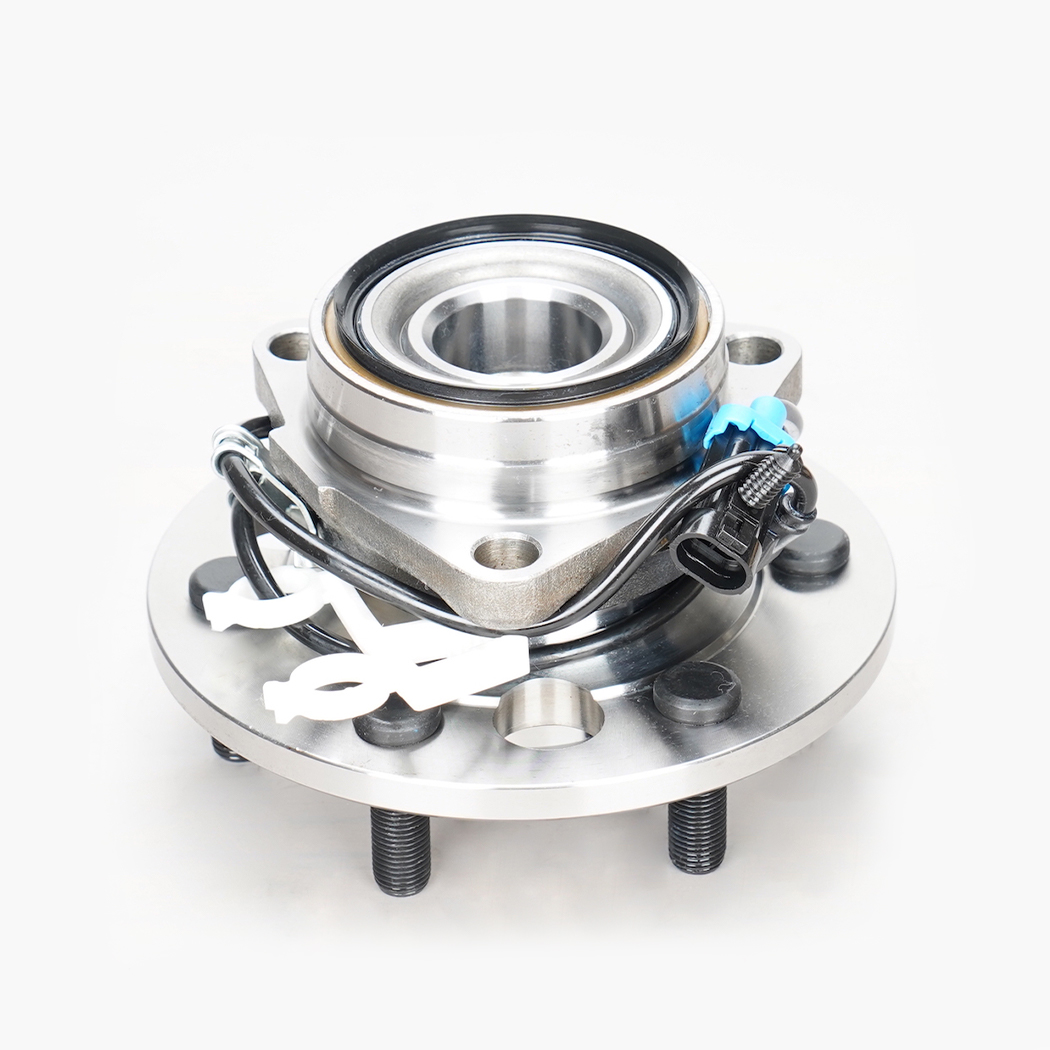
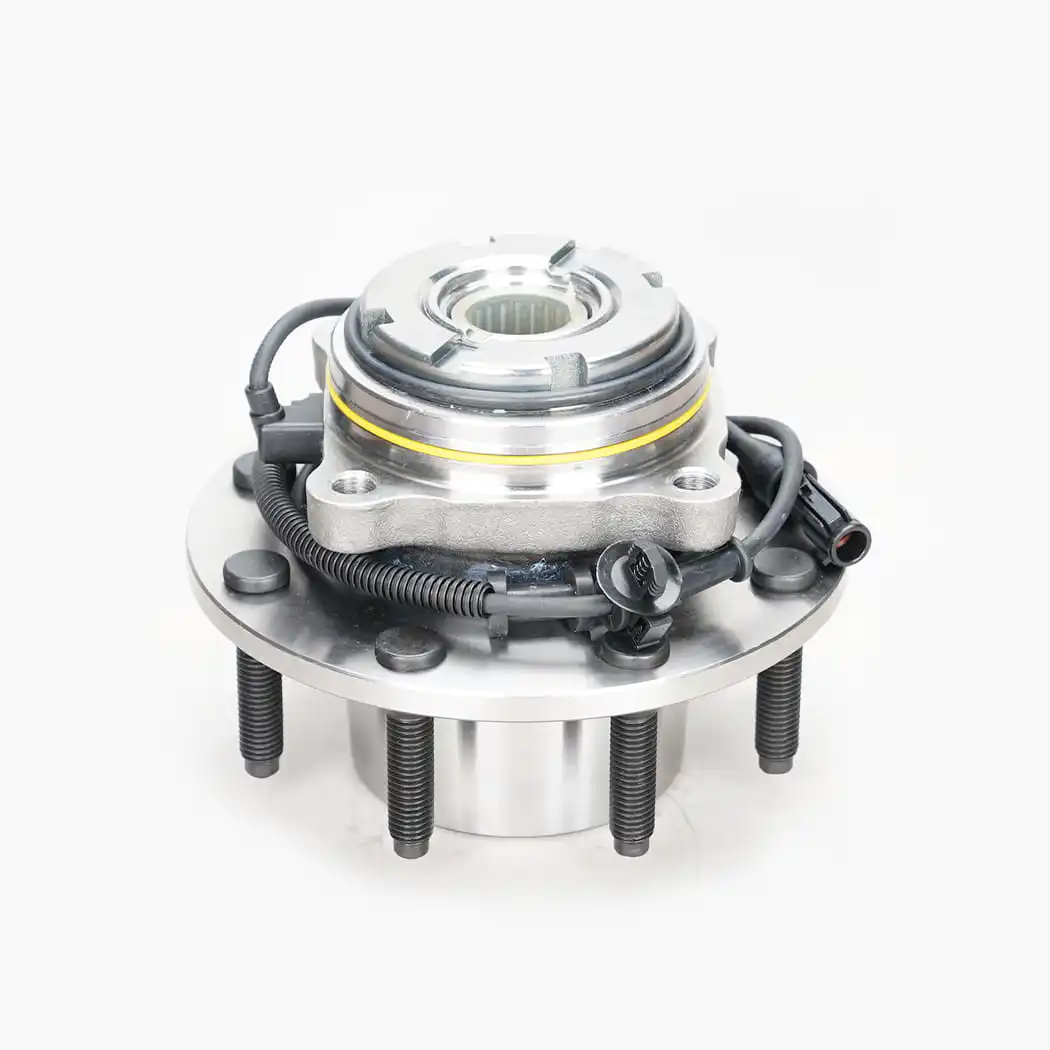
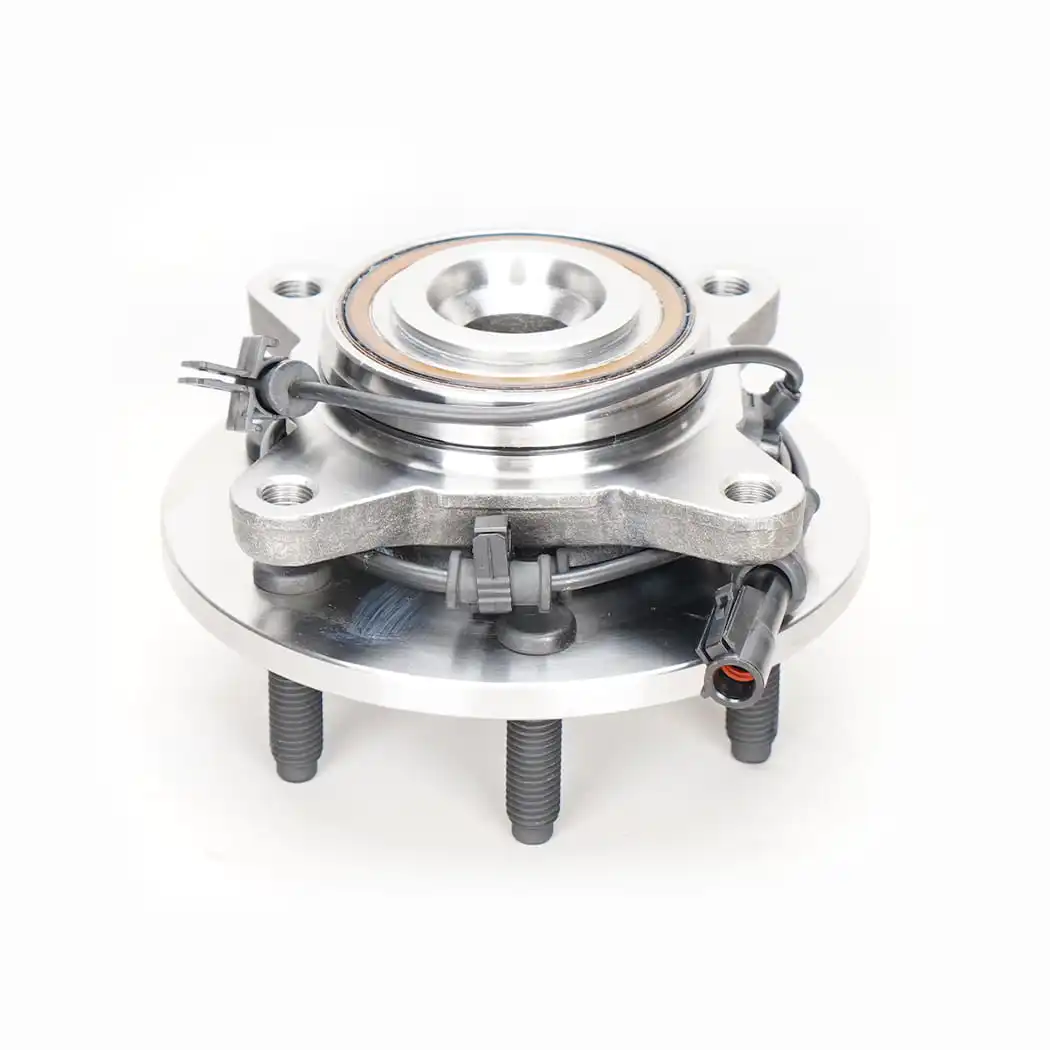
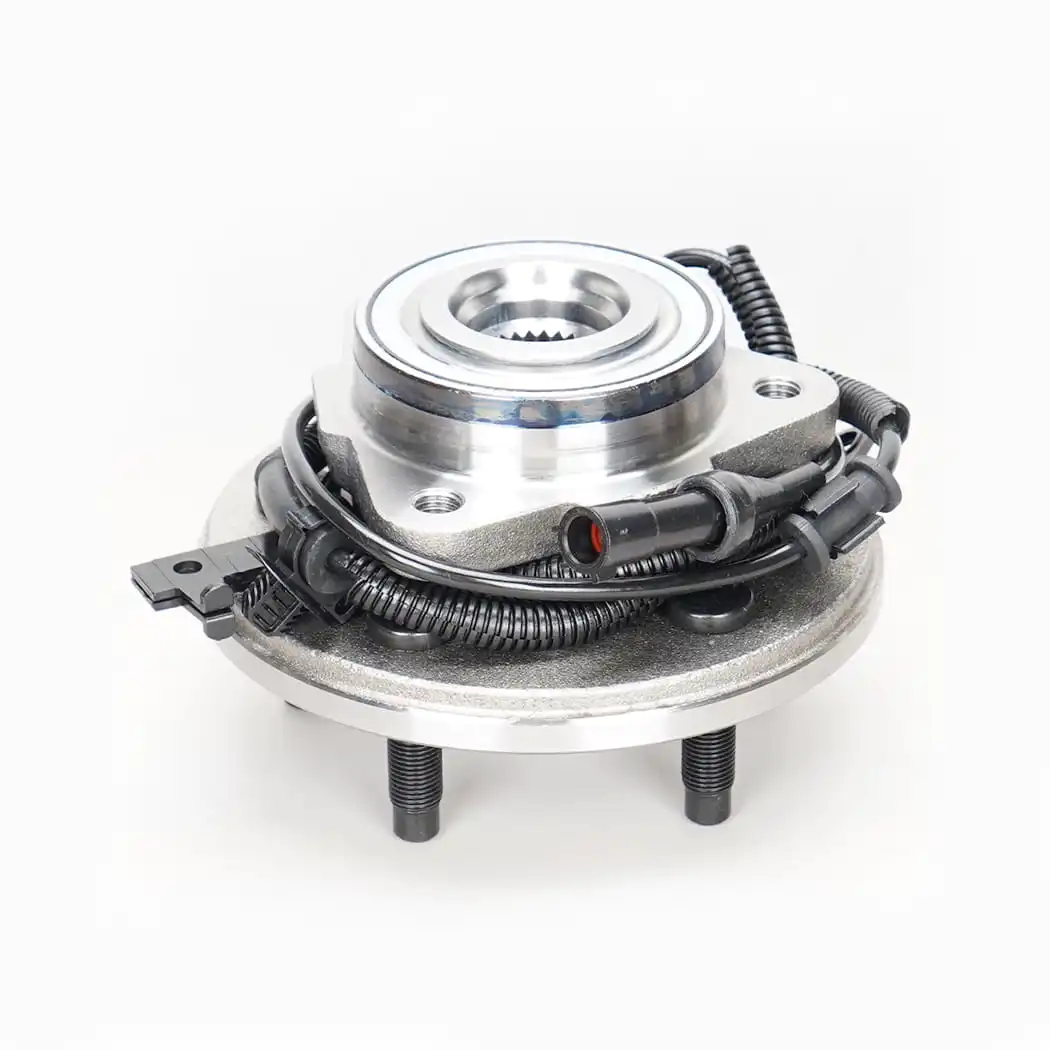
Third-generation hub assemblies are the most modern design and the type most commonly referred to when people say "wheel hub assembly." The bearing, hub flange, and wheel speed sensor are all integrated into a single, pre-assembled, bolt-on unit. It mounts directly to the steering knuckle with three or four bolts, and the entire unit is replaced as one piece when it fails. Gen 3 assemblies are used on the vast majority of modern passenger cars, crossovers, and light trucks. They offer the easiest replacement procedure — no press required — and are well-suited to DIY replacement with basic hand tools.
| Generation | Integration Level | ABS Sensor Included? | Press Required? | DIY Friendly? |
| Gen 1 | Separate components | No | Sometimes | Moderate |
| Gen 2 | Bearing unit + separate hub | Sometimes | Yes | Difficult |
| Gen 3 | Fully integrated unit | Yes | No | Yes |
A failing wheel hub and bearing assembly gives off several recognizable symptoms before it reaches the point of complete failure. Catching these signs early prevents more expensive collateral damage to the CV axle, knuckle, and brake components — and more importantly, it prevents a dangerous loss of wheel control on the road.
The most common symptom of a worn wheel hub bearing is a grinding, humming, or rumbling noise that changes with vehicle speed. Unlike tire noise, which tends to be consistent, a bad hub bearing often sounds louder at certain speeds and may change in pitch or volume when you turn the steering wheel slightly — because turning shifts the load between the inner and outer bearing races. If the noise gets louder when you swerve slightly to the left, the right front or right rear bearing is likely the culprit, and vice versa.
Jack up the vehicle so the wheel is off the ground, then grab the tire at the 12 o'clock and 6 o'clock positions and try to rock it. Some play is normal on Gen 1 style setups, but on modern sealed hub assemblies, any noticeable looseness or clunking indicates the bearing has worn beyond acceptable tolerance and the assembly needs replacement. Also check at the 9 o'clock and 3 o'clock positions — movement there points more toward tie rod ends or ball joints than the hub.
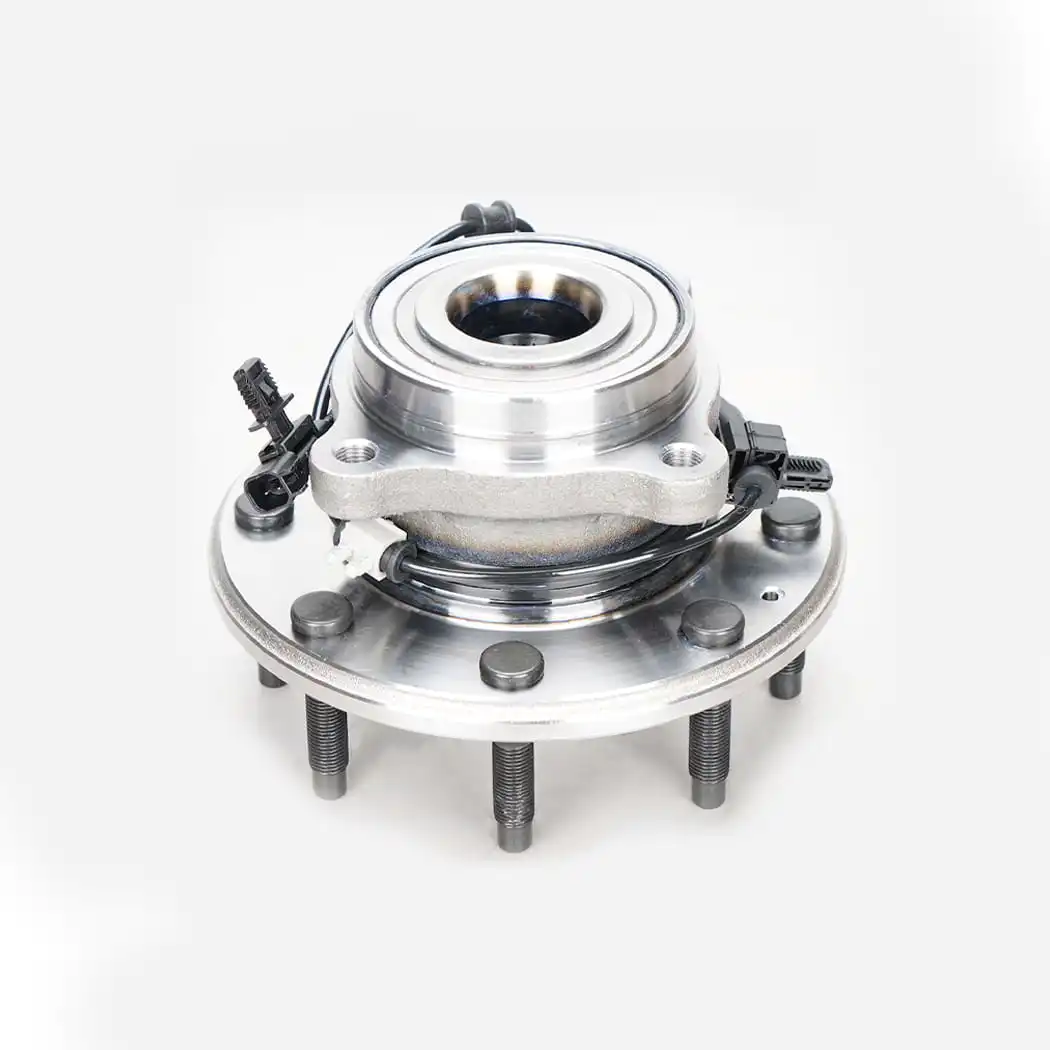
Because modern Gen 3 wheel hub assemblies have the ABS wheel speed sensor integrated into the unit, a failing bearing can damage or disrupt the sensor's magnetic encoder ring. This triggers an ABS warning light on the dashboard and may also affect traction control and stability control systems. If the ABS light comes on alongside unusual noise from one corner of the car, a failing hub assembly with a damaged speed sensor ring is a likely cause.
A hub bearing that has developed excessive play allows the wheel to run slightly off its true axis, causing the tire to wear unevenly — often showing excessive wear on one edge. This symptom is easier to see after the fact rather than as an early warning, so it's worth checking for bearing play any time you notice unusual tire wear patterns that can't be explained by alignment or inflation issues alone.
In more advanced stages of failure, a worn front hub assembly can transmit vibration directly through the steering column into the steering wheel, or through the chassis into the floor and seat. This vibration typically increases with speed and may be felt most strongly at highway speeds. It can be confused with wheel balance or driveshaft issues, so a thorough inspection of all components is important before assuming it's the hub.
Replacing a Gen 3 wheel hub assembly on a front-wheel-drive vehicle is one of the more accessible suspension jobs for a capable DIYer. It requires basic hand tools, a torque wrench, and about two to three hours for someone doing it for the first time. Here's the general procedure — always consult a vehicle-specific repair manual for exact torque specs and steps.
The replacement parts market for hub bearing assemblies is large and varied in quality. Choosing the wrong unit — or a low-quality unit — can mean repeating the job in a fraction of the expected service life. Here's what to evaluate when selecting a replacement wheel hub and bearing assembly:
Original Equipment Manufacturer (OEM) hub assemblies are made by or to the exact specification of the vehicle manufacturer. They're the most reliable option but typically the most expensive, often running $150–$400 per corner from a dealership. High-quality aftermarket brands — including SKF, Timken, Moog, FAG, and NSK — manufacture hub assemblies to OEM specifications or better, at a lower cost. These are the preferred choice for most experienced mechanics. Budget "white box" or unbranded units from unknown overseas suppliers may cost $30–$60, but inconsistent quality control makes them a false economy for a safety-critical component.
Hub assemblies are highly vehicle-specific. The bolt pattern, hub bore diameter, flange thickness, ABS sensor type (active vs. passive), and mounting bolt configuration all vary between makes and models. Always verify fitment by entering your exact year, make, model, engine, and drivetrain when searching for a replacement. On some vehicles, front and rear hub assemblies are different parts even if they look similar, and driven vs. non-driven axle versions differ in center bore size.
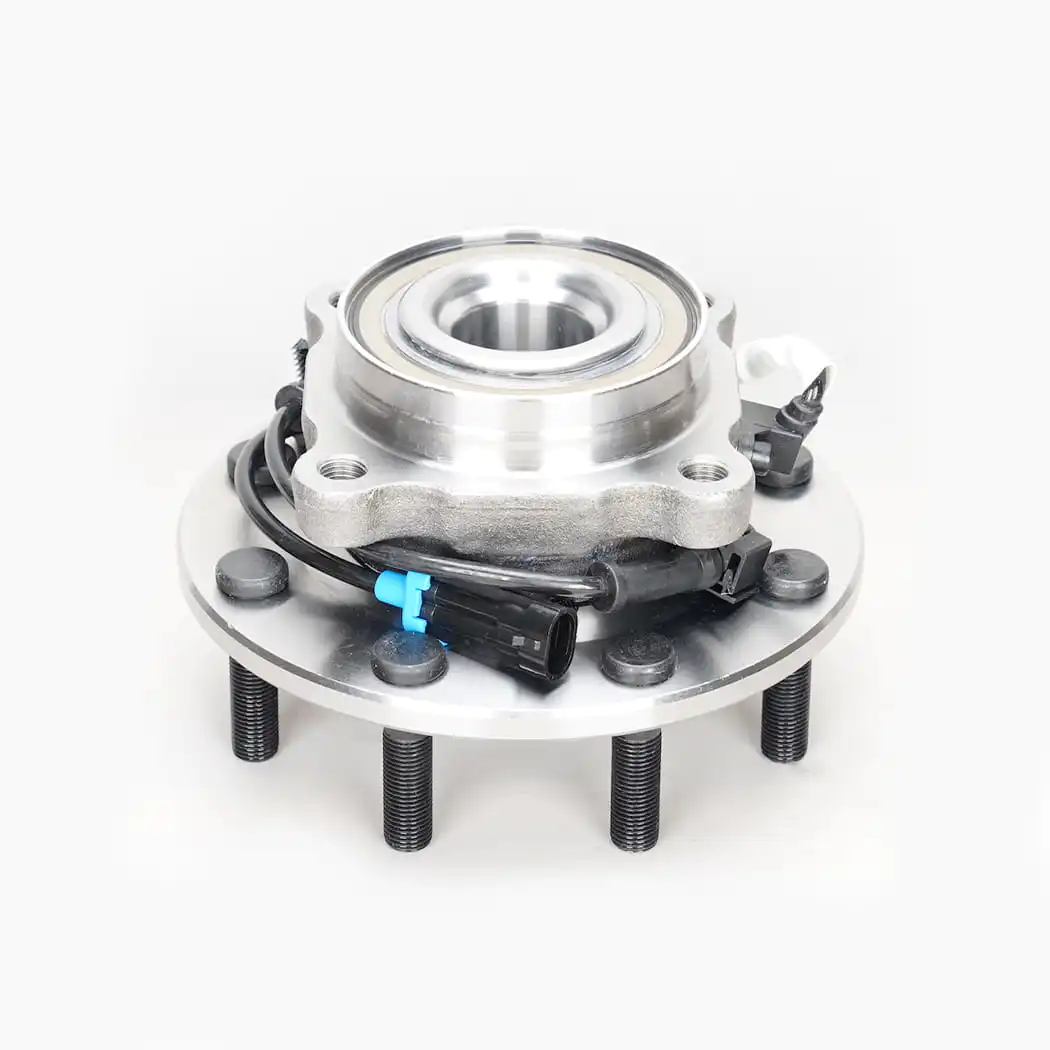
If your vehicle has ABS (virtually all vehicles built after 2000 in the US do), confirm that the replacement hub assembly includes the compatible wheel speed sensor or encoder ring. Some replacement units include the sensor; others do not and require you to transfer the sensor from the old unit or purchase it separately. Mismatched ABS sensor types will trigger fault codes and disable ABS and stability control systems.
Understanding the cost breakdown for a hub assembly replacement helps you evaluate repair shop quotes and decide whether DIY makes sense for your situation. Prices vary significantly based on vehicle type, location, and whether you choose OEM or aftermarket parts.
| Cost Component | DIY Cost | Shop Cost (Parts + Labor) |
| Aftermarket Hub Assembly | $60–$180 | $60–$180 (parts) |
| OEM Hub Assembly | $150–$400 | $150–$400 (parts) |
| Labor (per wheel) | $0 (DIY) | $100–$250 |
| Total Estimate (per wheel) | $60–$400 | $200–$650 |
Labor time is typically 1 to 2 hours per wheel at a shop. Front hub assemblies on FWD vehicles often take slightly longer due to axle nut removal and more complex disassembly around the CV joint. Rear hub assemblies on non-driven axles are usually the quickest to replace. If the hub mounting bolts are severely corroded — common in northern states and regions that use road salt — labor time and cost can increase significantly.
A quality wheel hub and bearing assembly typically lasts between 85,000 and 100,000 miles under normal driving conditions. However, several factors can drastically shorten that lifespan, and understanding them can help you extend the service life of your replacement unit.
• ADD: 42705 Grand River Avenue, Suite 201, Novi. Michigan 48375, USA.
© Copyright 2017 HANGZHOU HANJI AUTO PARTS.CO.,LTD. All Rights Reserved. Wheel Hub Unit Manufacturer