Content
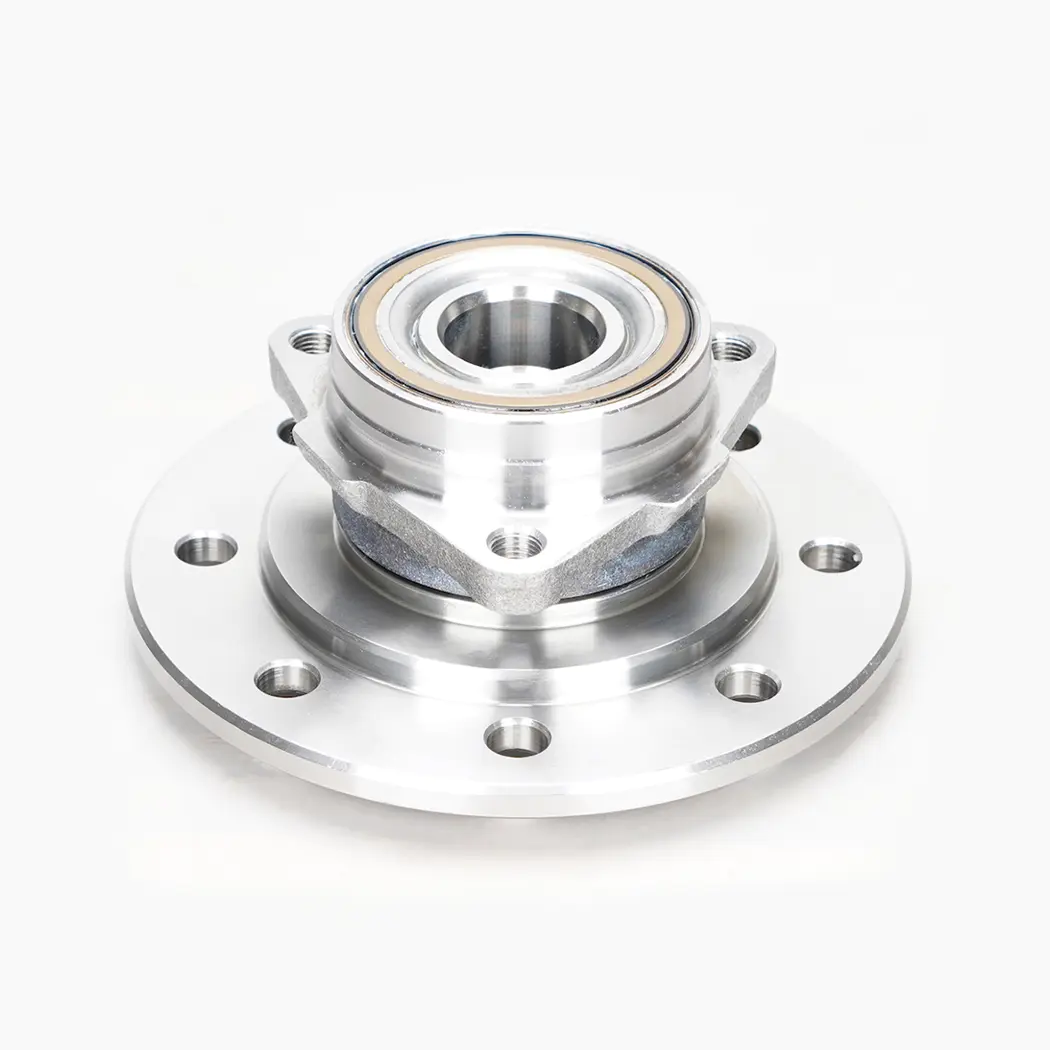
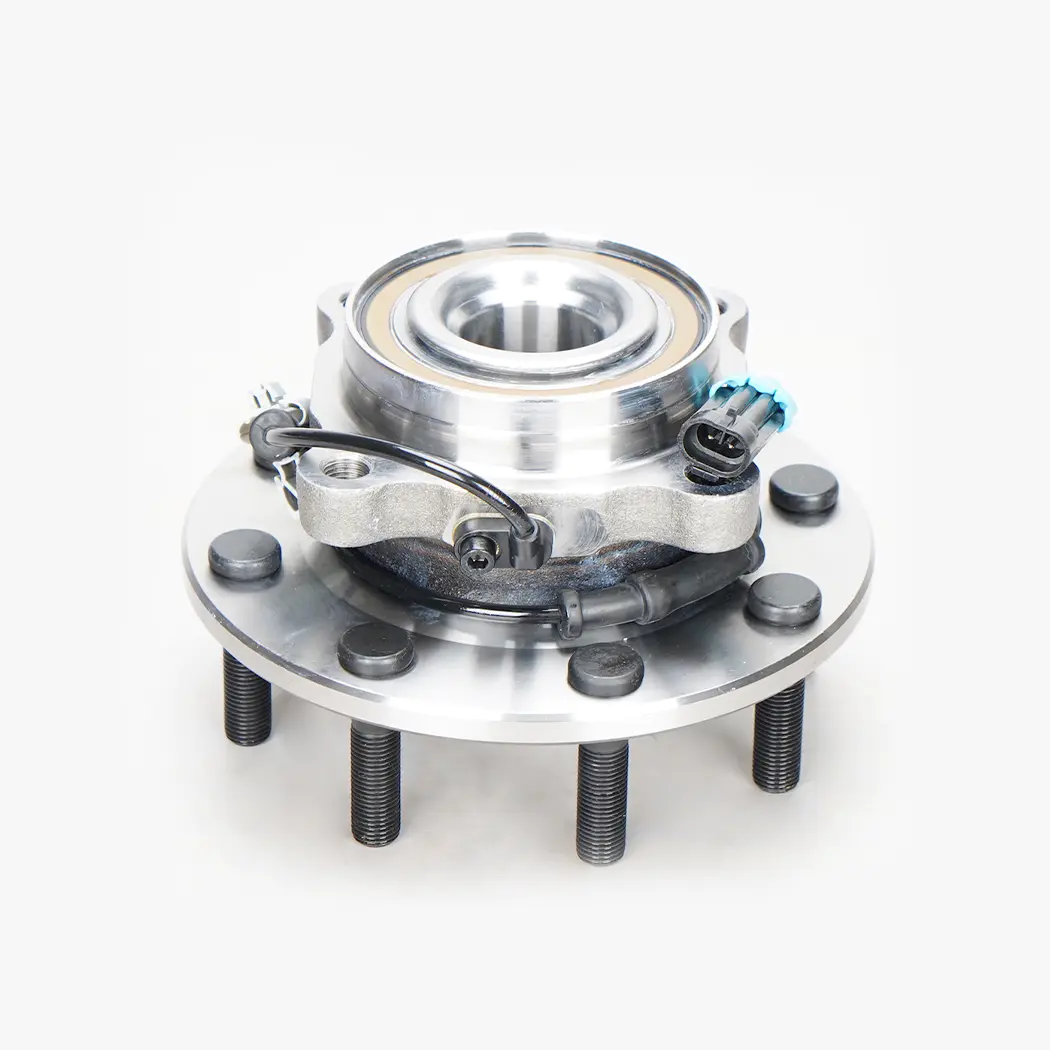
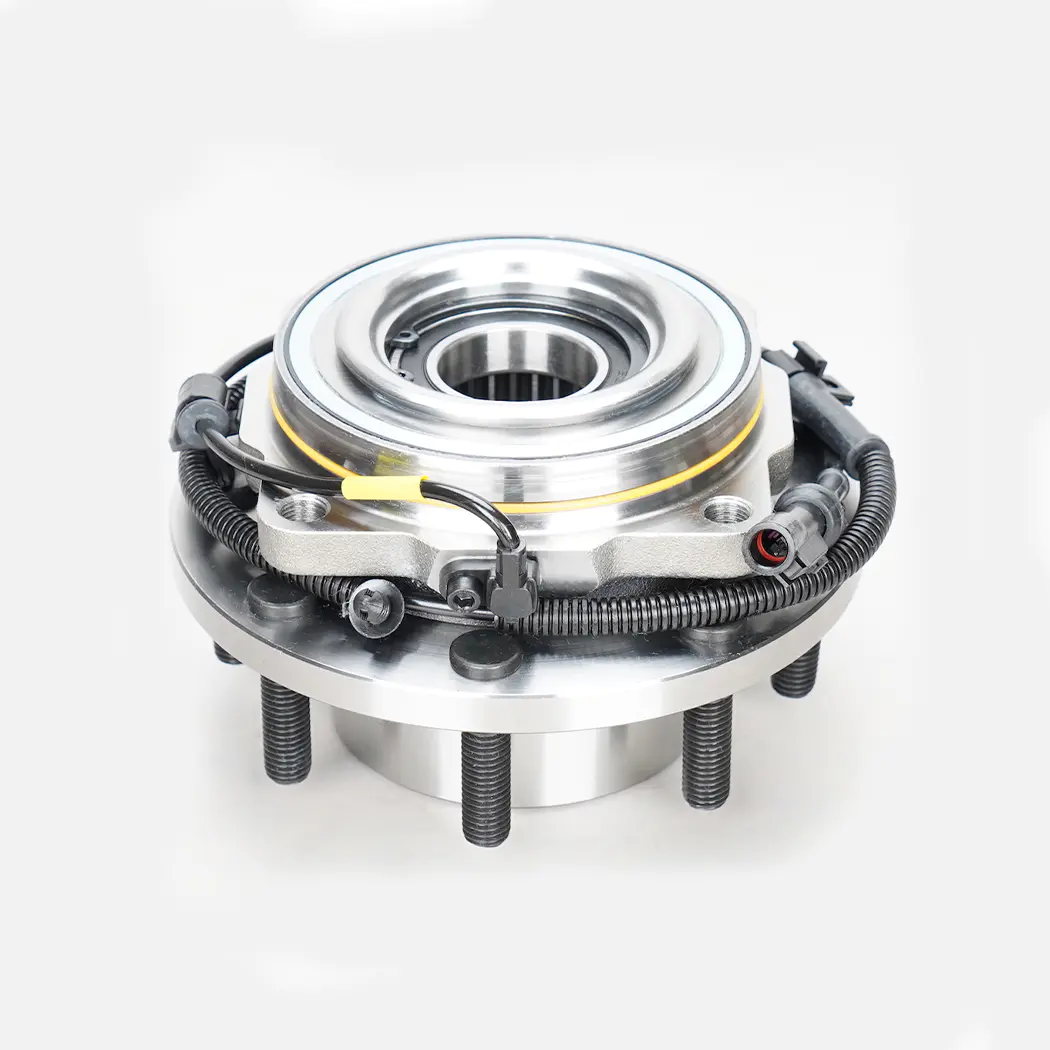
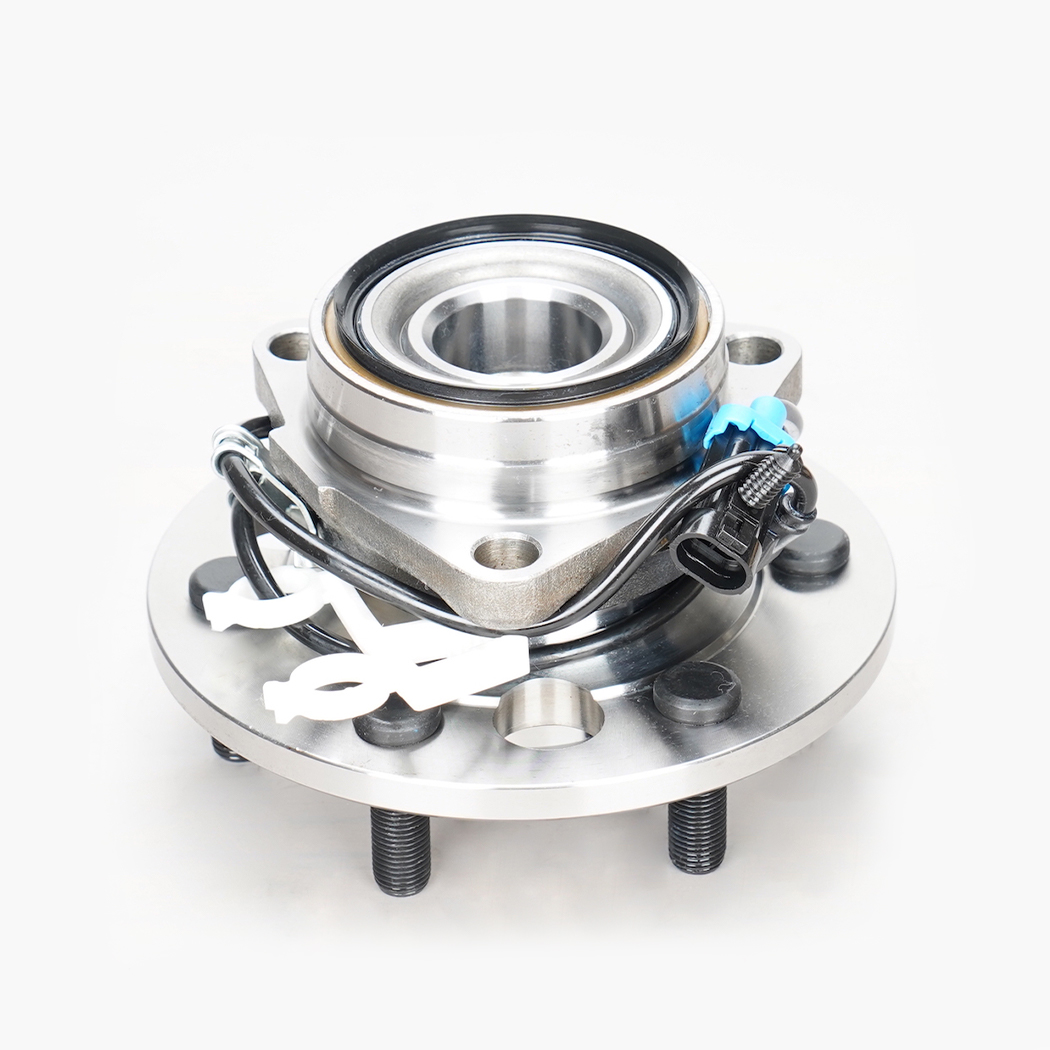
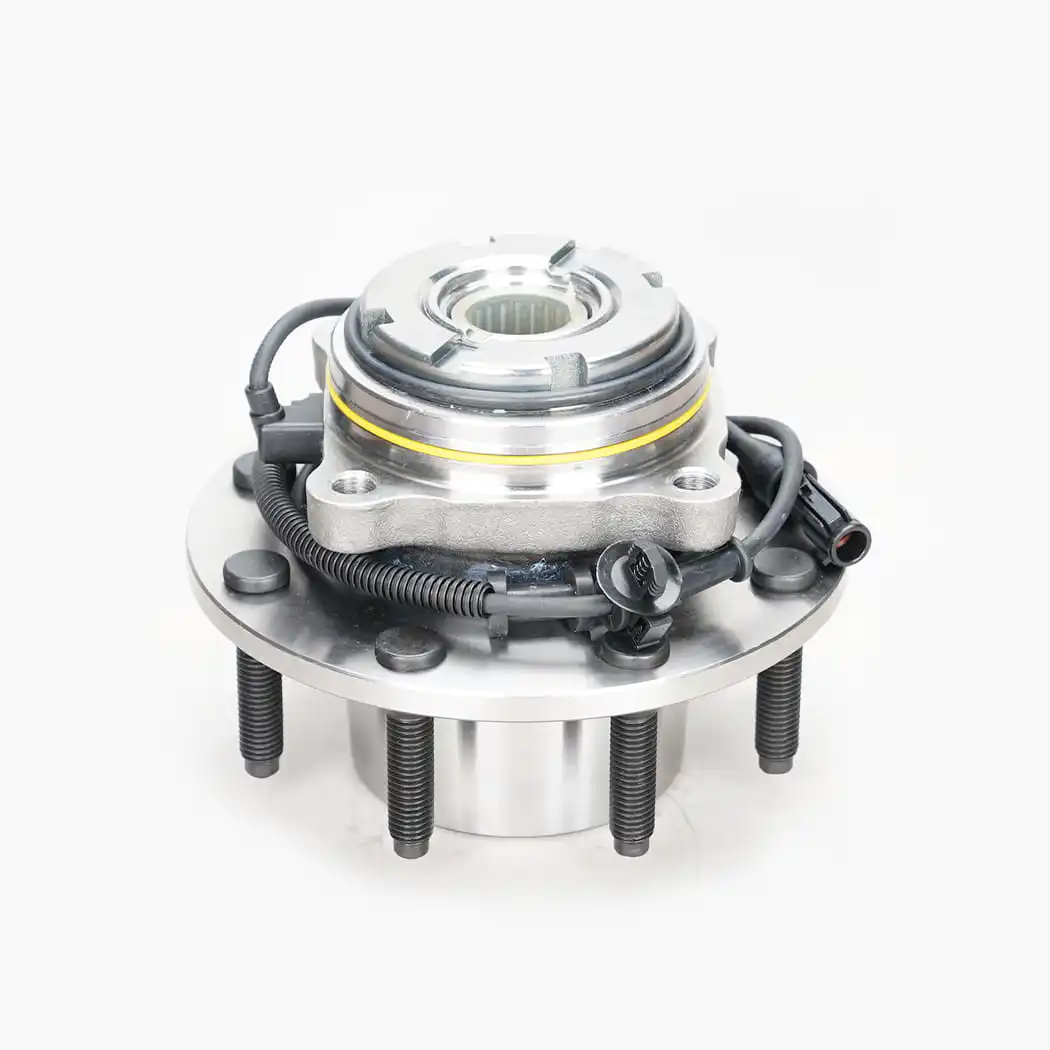
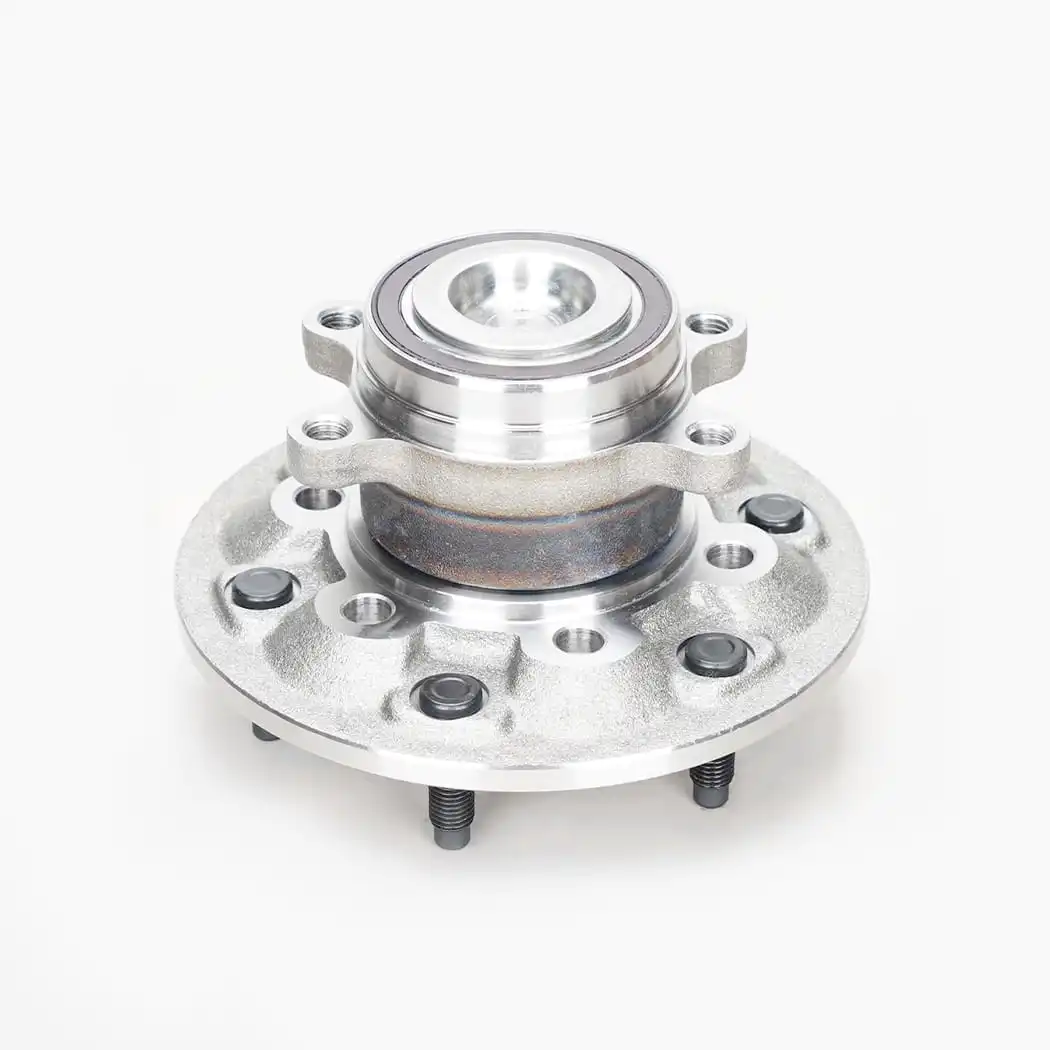
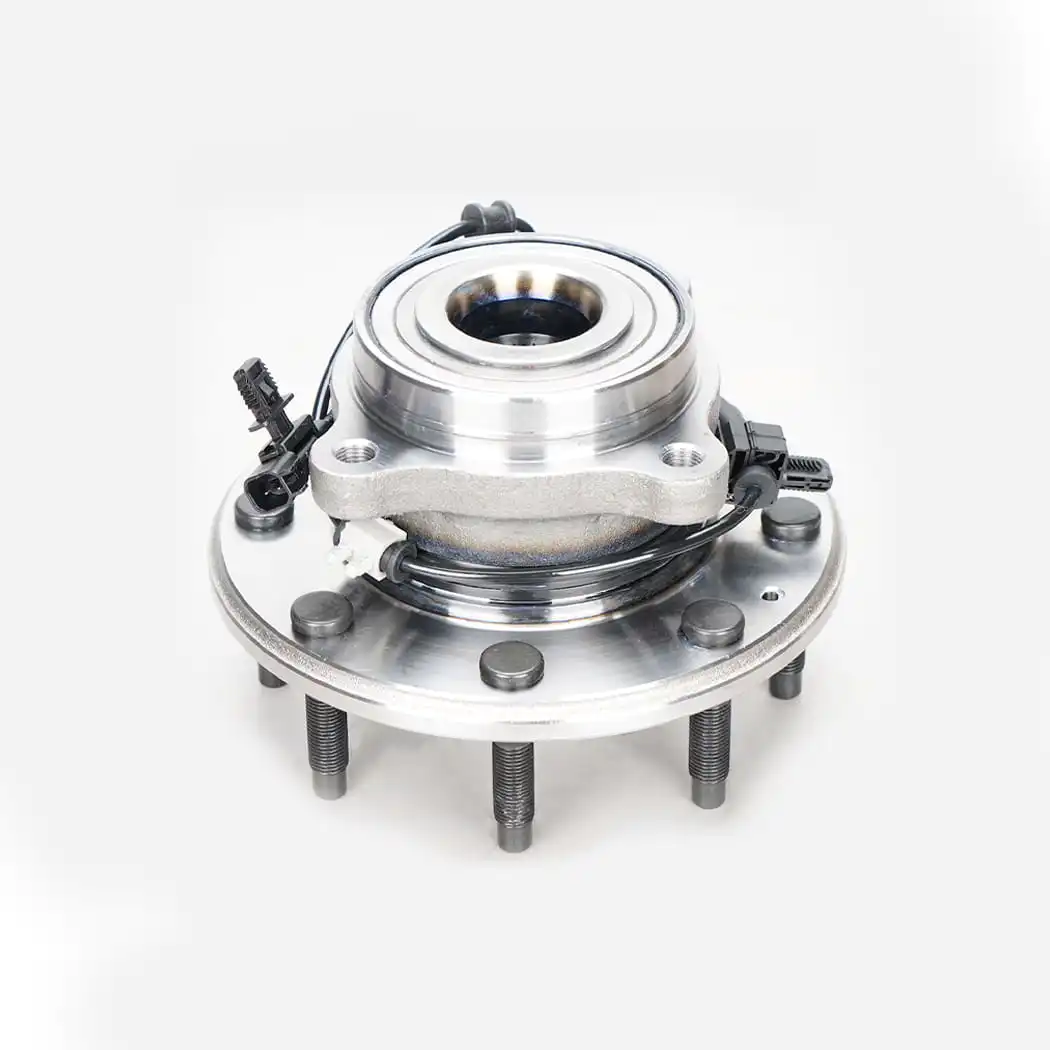
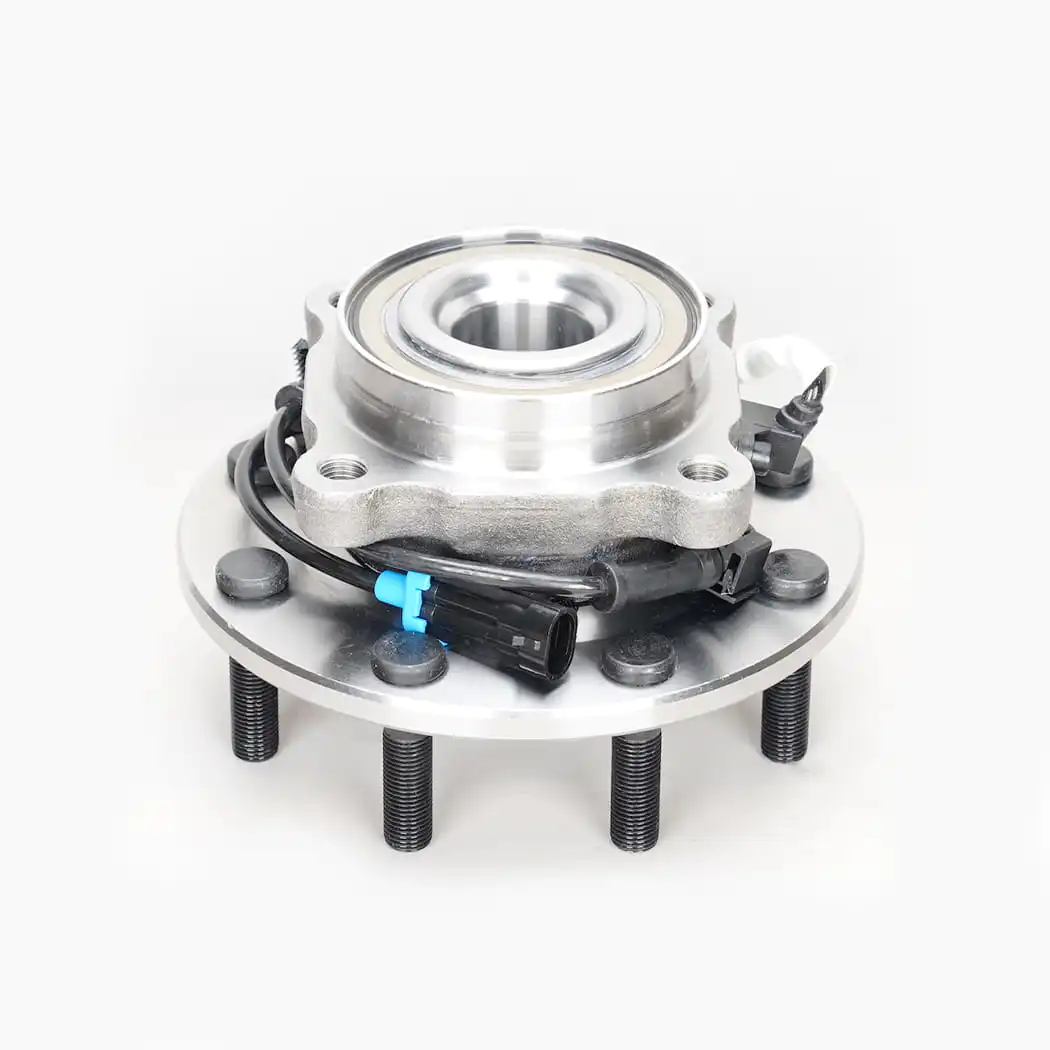
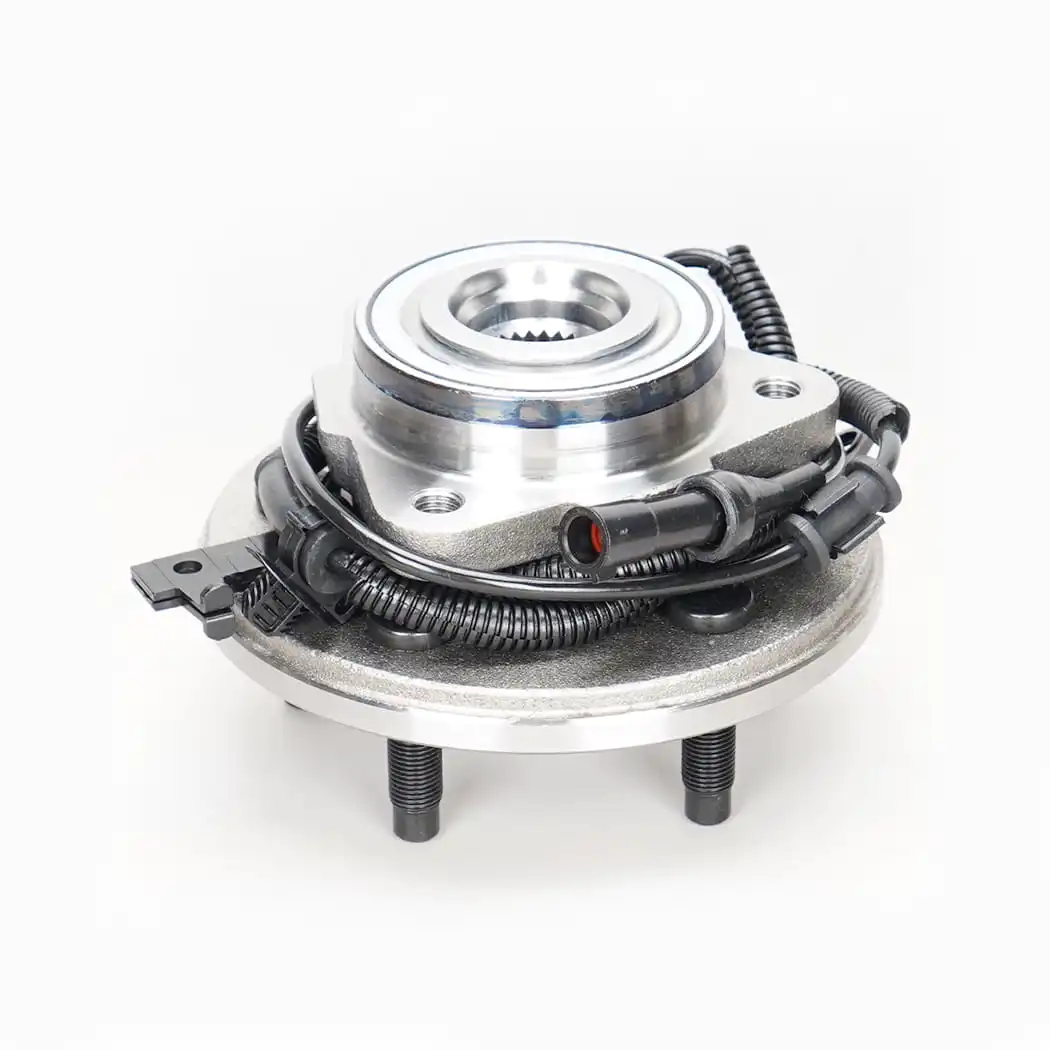
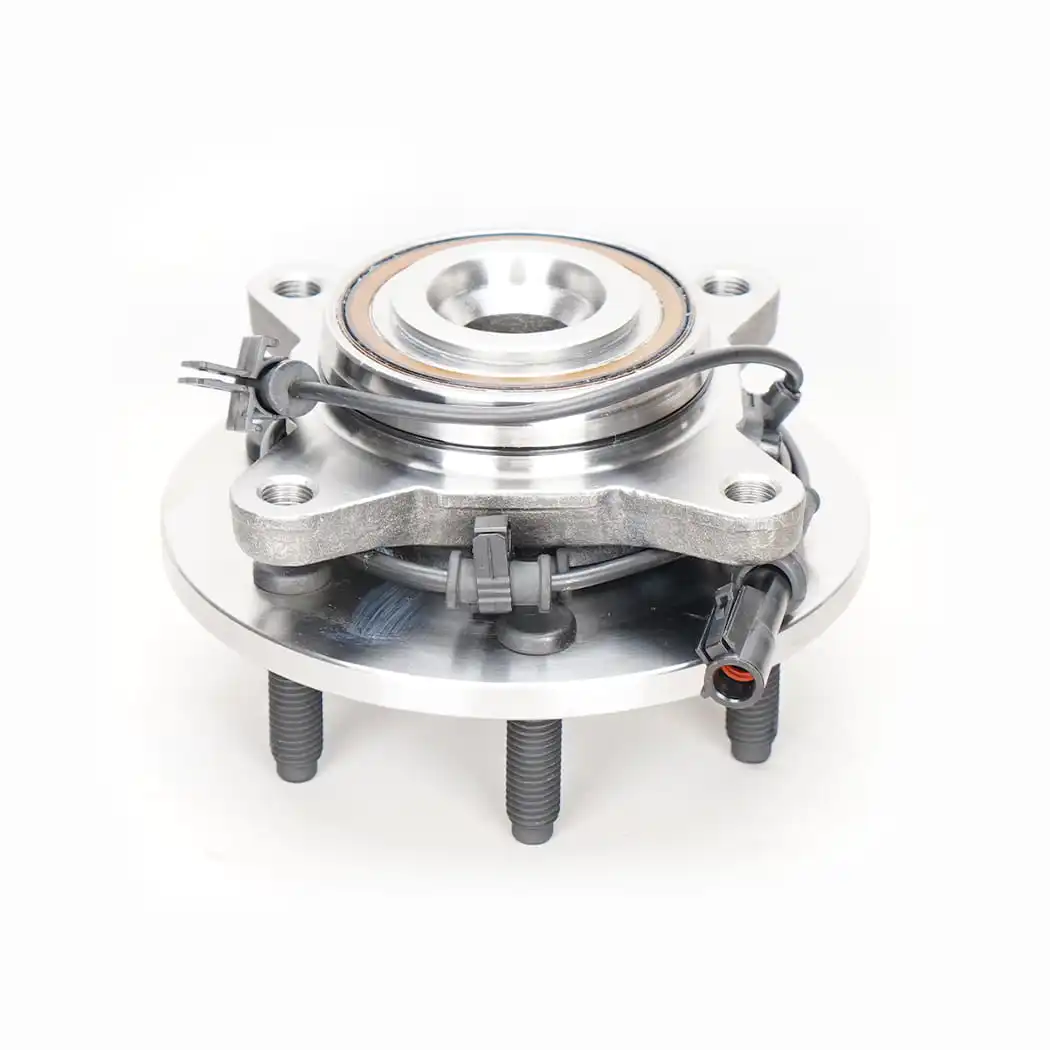
A rear hub assembly is the complete unit at the center of each rear wheel that connects the wheel to the vehicle's suspension and allows the wheel to rotate smoothly around a fixed axis. On most modern passenger cars and light trucks, the rear wheel hub assembly is a self-contained unit that integrates the wheel bearing, the hub flange where the wheel bolts mount, and often a tone ring or reluctor ring used by the ABS system — all pressed together and sealed as a single serviceable component. Unlike older vehicles where the bearing and hub were separate parts that had to be pressed apart and rebuilt individually, the modern rear hub and bearing assembly is designed to be replaced as one complete unit when it wears out.
The rear hub assembly carries the full weight of the rear of the vehicle, transmits braking forces from the wheel to the suspension, and on driven axles, transfers rotational power from the axle shaft to the wheel. It does all of this while allowing smooth, low-friction rotation through the integrated wheel bearing — which is doing its job correctly every time you drive and goes completely unnoticed until it starts to fail. Understanding this component in detail matters because rear hub assembly failures are among the more common and more safety-relevant repairs a vehicle will need over its lifetime.
While the rear wheel hub assembly is sold and replaced as a single unit on most vehicles, knowing what's inside it helps you understand why it fails, what the symptoms mean, and why proper installation procedure matters.
The bearing at the heart of the rear hub assembly is almost always a double-row angular contact ball bearing or a tapered roller bearing, depending on the vehicle design. Double-row ball bearings are compact, handle radial loads (the vehicle's weight pushing down on the wheel) and axial loads (cornering forces pushing the wheel sideways) simultaneously, and are well-suited to the moderate loads of most passenger car rear axles. Tapered roller bearings, more common on trucks and performance vehicles, carry higher radial and axial loads and can be adjusted for preload, but they require more precise installation. In both cases the bearing races, rolling elements, and cage are sealed inside the hub unit with integral rubber seals that retain grease and exclude water and debris — eliminating the periodic repacking that older, separate bearing designs required.
The hub flange is the flat face of the rear wheel hub assembly where the wheel mounts. The wheel studs — the threaded fasteners the lug nuts tighten onto — press into the flange face and are what physically hold the wheel to the vehicle. The flange face must be flat and perpendicular to the bearing's rotation axis; any runout or warping in the flange translates directly into wheel runout that can cause vibration and uneven tire wear. This is why even a minor impact that bends or damages the hub flange requires replacement of the entire rear hub assembly rather than attempting any repair to the flange itself.
On vehicles with anti-lock brakes — which includes virtually every passenger vehicle sold in the past twenty-five years — the rear axle hub assembly incorporates a tone ring, also called a reluctor ring, either as a separate pressed-on component or machined directly into the hub body. The ABS wheel speed sensor reads the passing teeth of this ring as the wheel rotates and sends frequency data to the ABS control module, which uses it to detect individual wheel lockup. When the tone ring is damaged, corroded, or missing teeth — which can happen when a hub assembly is pried apart improperly — the ABS system loses its speed input from that wheel, illuminating the ABS warning light and disabling ABS and traction control functions.
A failing rear wheel bearing hub assembly almost always announces itself through a progression of symptoms before it reaches a point of complete failure. Catching these symptoms early and addressing them promptly is the difference between a straightforward bearing hub replacement and a much more serious situation involving wheel detachment or loss of vehicle control. Here are the symptoms to know and what each one indicates:
The most common early symptom of a worn rear hub bearing assembly is an audible hum, growl, or grinding noise that correlates with vehicle speed rather than engine RPM. The noise typically starts as a low-frequency hum at highway speeds and becomes louder and lower in pitch as bearing wear progresses. A useful diagnostic technique is to gently swerve the vehicle from side to side while driving at a moderate highway speed — if the noise changes pitch or intensity during the swerve, it strongly suggests a wheel bearing issue, because the lateral weight transfer during the swerve changes the load on each bearing and alters the noise from the compromised one. A noise that grows louder when swerving right and quieter when swerving left suggests the right-side bearing is failing, and vice versa.
As the internal bearing races and rolling elements wear unevenly, the rear axle hub assembly begins to generate vibration as well as noise. This vibration typically transmits through the suspension and chassis into the floorboard or seat, and like the noise, it increases with vehicle speed. It can be difficult to distinguish bearing vibration from tire or wheel balance vibration without additional diagnosis, but bearing vibration tends to remain constant or worsen smoothly as speed increases, while balance-related vibration typically has a speed band where it peaks and then diminishes above and below that speed.
Wheel speed sensor faults that illuminate the ABS or traction control warning light can result from a rear hub assembly failure even when no obvious noise or vibration is yet present. If the tone ring integrated into the hub assembly is damaged or if bearing wear has allowed excessive axial play that moves the hub enough to disrupt the air gap between the tone ring and the wheel speed sensor, the sensor signal becomes erratic or drops out entirely. Scanning the ABS control module for fault codes and identifying which wheel's speed sensor is reporting an error will quickly point you to the affected side. A rear hub assembly replacement resolves both the mechanical bearing issue and the ABS sensor signal problem simultaneously.
In more advanced stages of bearing failure, the rear wheel hub assembly develops detectable play — physical looseness when the wheel is gripped at 12 o'clock and 6 o'clock positions and rocked back and forth (which reveals axial play) or at 3 o'clock and 9 o'clock (which reveals radial play). Any detectable play in a wheel bearing is a significant safety concern and should be treated as an urgent repair. A bearing with play has already lost the controlled internal clearance that maintains proper load distribution across the rolling elements — the remaining progression to catastrophic failure is unpredictable and potentially rapid.
The swerve test described above is a useful first filter, but a proper diagnosis before ordering a rear wheel hub assembly replacement should confirm which side is actually failing and rule out other components that can produce similar symptoms. Spending twenty minutes on accurate diagnosis saves the cost and labor of replacing the wrong side — which happens more often than most people expect because bearing noise can appear to come from the opposite side of the vehicle under some conditions.
Understanding the root causes of rear hub bearing assembly failure helps explain why replacement intervals vary so widely between vehicles and driving conditions, and informs decisions about how to get the most from a new hub assembly after replacement.
| Cause | How It Damages the Hub | Vehicles Most Affected |
| Impact loading (potholes, curbs) | Brinelling — denting of bearing races from sudden overload | All vehicles; worse with low-profile tires |
| Seal failure and water intrusion | Corrosion of races and balls, grease contamination | Vehicles in wet, salty, or coastal climates |
| Improper installation torque | Over-preload collapses internal clearance; under-torque causes fretting | Any vehicle after DIY or improper shop service |
| Incorrect wheel offset or spacers | Increased bending moment on bearing from extended wheel track | Modified vehicles with aftermarket wheels |
| Normal wear over mileage | Gradual fatigue spalling of bearing races and rolling elements | All vehicles, typically 80,000–150,000 miles |
| Overloading or trailer towing beyond rating | Accelerated fatigue from sustained overloading of bearing capacity | Trucks and SUVs used for frequent towing |
Rear hub assembly replacement is one of the more approachable suspension jobs for experienced DIY mechanics, but it requires the right tools, careful attention to torque specifications, and an understanding of what can go wrong. The procedure varies between vehicles — particularly between non-driven rear axles (where the hub bolts to the knuckle with no axle shaft involvement) and driven rear axles (where the axle shaft passes through the hub center) — but the core sequence is consistent.
Before starting a rear wheel hub assembly replacement, confirm you have a torque wrench capable of reaching the hub mounting bolt torque — which can be anywhere from 50 ft-lbs to over 200 ft-lbs depending on the vehicle — as well as a breaker bar for loosening the hub mounting bolts that are almost always corroded in place. A hub puller or slide hammer may be needed if the hub body has seized onto the knuckle bore due to corrosion, which is extremely common on vehicles in salt-belt regions. Wire brush the knuckle bore and mating surfaces before installation, and apply a thin film of anti-seize compound to the hub body outer diameter to prevent the same corrosion problem for the next service interval.
After safely lifting and supporting the vehicle, removing the wheel, and detaching the brake caliper and rotor (or drum on drum-brake applications), the wheel speed sensor connector must be unplugged before attempting to remove the hub. On driven rear axles, the axle shaft nut — typically a large castellated nut secured with a cotter pin, torqued to 150 ft-lbs or more — must be removed first. The hub mounting bolts (usually three or four bolts accessed from behind the knuckle) are then removed. If the rear axle hub assembly does not slide off by hand after all fasteners are removed, the hub body has seized in the knuckle bore and requires a hub puller to extract without damaging the knuckle. Never use a hammer to drive the hub out of the knuckle — the impact can damage the knuckle bore or distort the bearing seat.
Before installing the new rear hub and bearing assembly, clean the knuckle bore thoroughly, inspect it for any raised corrosion ridges or damage that could prevent the new hub from seating squarely, and file or sand any high spots smooth. Apply a thin coat of anti-seize to the hub outer diameter. Guide the new hub assembly into the knuckle bore by hand and start the mounting bolts by hand to confirm correct thread engagement before applying any wrench torque. Torque the mounting bolts in a cross pattern to the vehicle manufacturer's specification — not the hub manufacturer's generic recommendation — and do not substitute thread locker for torque; these fasteners rely on proper clamp load, not adhesive, to maintain their position. On driven axles, install a new axle nut (never reuse the old one) and torque it to specification, then install a new cotter pin.
Reconnect the wheel speed sensor connector and verify it is fully seated and locked. Reinstall the brake rotor and caliper, torquing the caliper bracket bolts to specification. Before lowering the vehicle, spin the hub by hand and confirm it rotates smoothly with no roughness or binding. After lowering the vehicle and installing the wheel with lug nuts torqued to specification, take the vehicle for a short test drive and listen for any noise from the repaired side. If an ABS warning light was present before the repair, it should extinguish within a short drive once the ABS module registers consistent speed sensor readings from the new hub assembly. If the light remains on, scan for codes to confirm the fault has cleared or to identify any remaining issue with the sensor wiring or connector.
The market for rear wheel hub assemblies ranges from OEM-equivalent parts manufactured by the same suppliers that produced the original equipment to inexpensive imports that can fail within a fraction of the original hub's lifespan. Making an informed choice means understanding what quality indicators actually matter for this component.
A properly installed, quality rear wheel hub assembly on a vehicle that is driven normally should last 80,000 to 120,000 miles or more — comparable to the lifespan of the original equipment part. The variables that most affect the service life of a replacement hub are installation quality, parts quality, and vehicle use conditions, roughly in that order of impact.
Installation quality is the factor most within your control. A hub that is installed in a clean, correctly prepared knuckle bore, torqued to the exact manufacturer specification with a calibrated torque wrench, and fitted with a correctly preloaded axle shaft nut (on driven axles) will carry full bearing life. The same hub installed in a corroded bore with fasteners torqued by feel rather than specification can develop abnormal wear within the first 20,000 miles, because the bearing's internal clearance and preload are set during installation and cannot be corrected afterward without disassembly.
Driving conditions also matter meaningfully. Vehicles that regularly travel on rough roads, live in environments where heavy road salt is used in winter, or are used for towing should be inspected for early bearing symptoms starting around 60,000 miles after a rear hub assembly replacement, rather than waiting until symptoms appear. Catching a developing bearing failure early — when noise is just beginning — allows a planned replacement rather than an emergency repair, and eliminates any risk of operating the vehicle with a dangerously worn rear hub bearing assembly.
• ADD: 42705 Grand River Avenue, Suite 201, Novi. Michigan 48375, USA.
© Copyright 2017 HANGZHOU HANJI AUTO PARTS.CO.,LTD. All Rights Reserved. Wheel Hub Unit Manufacturer