Content
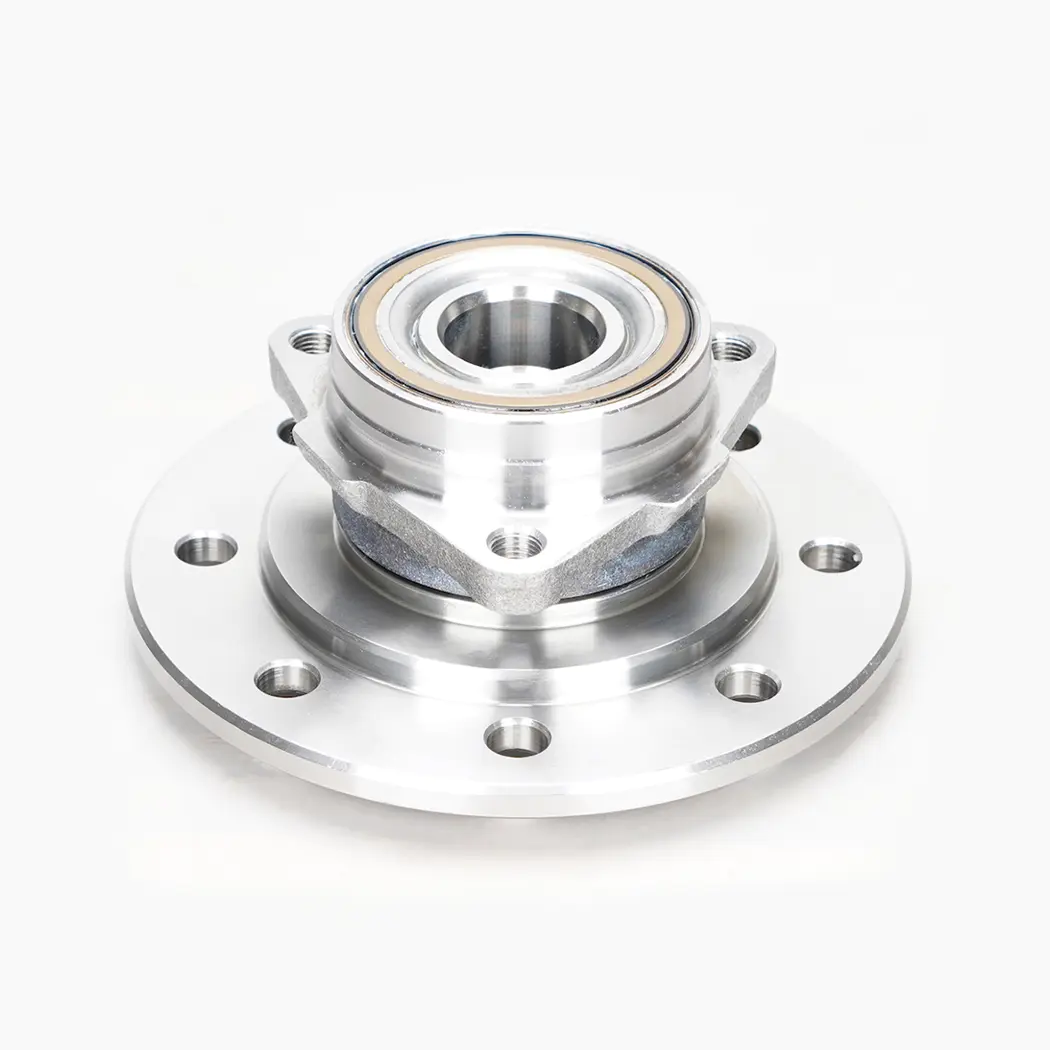
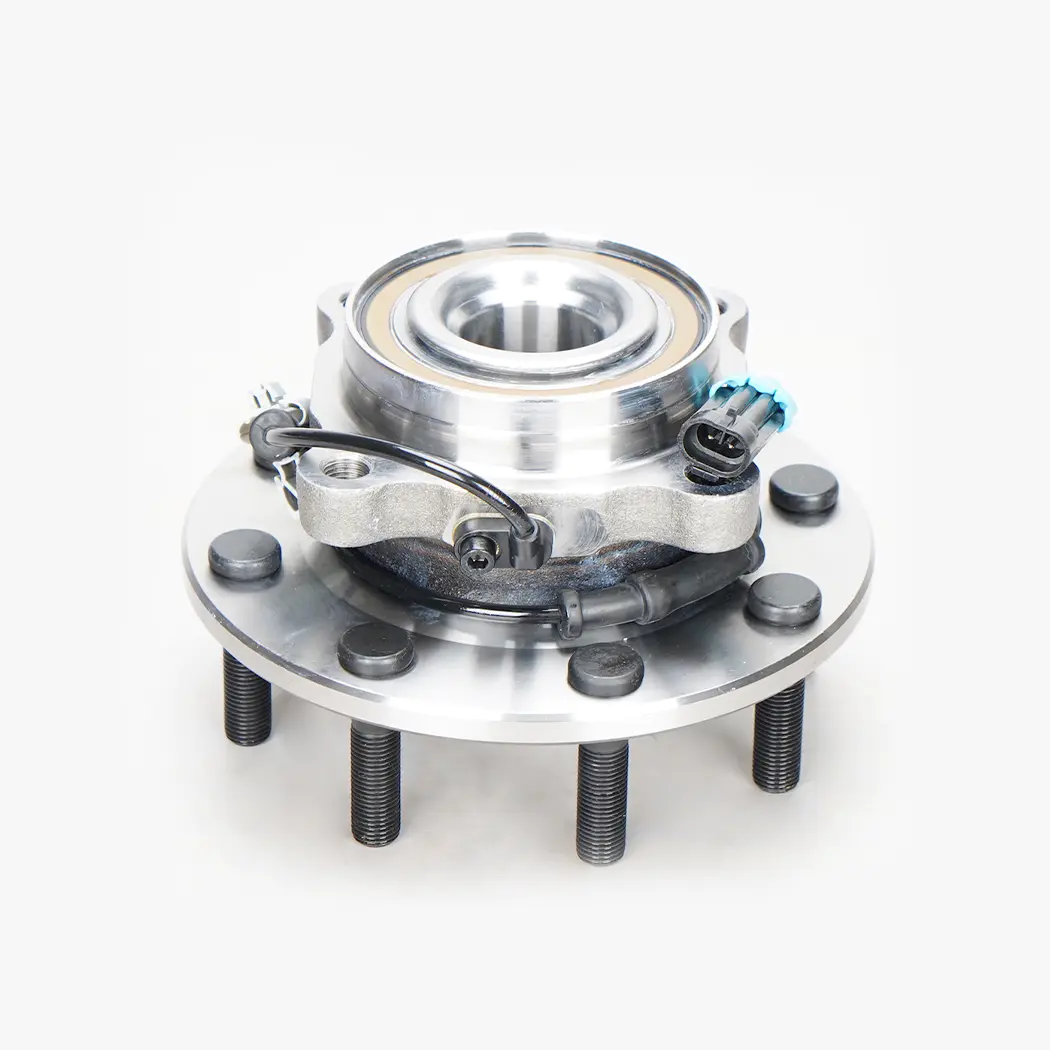
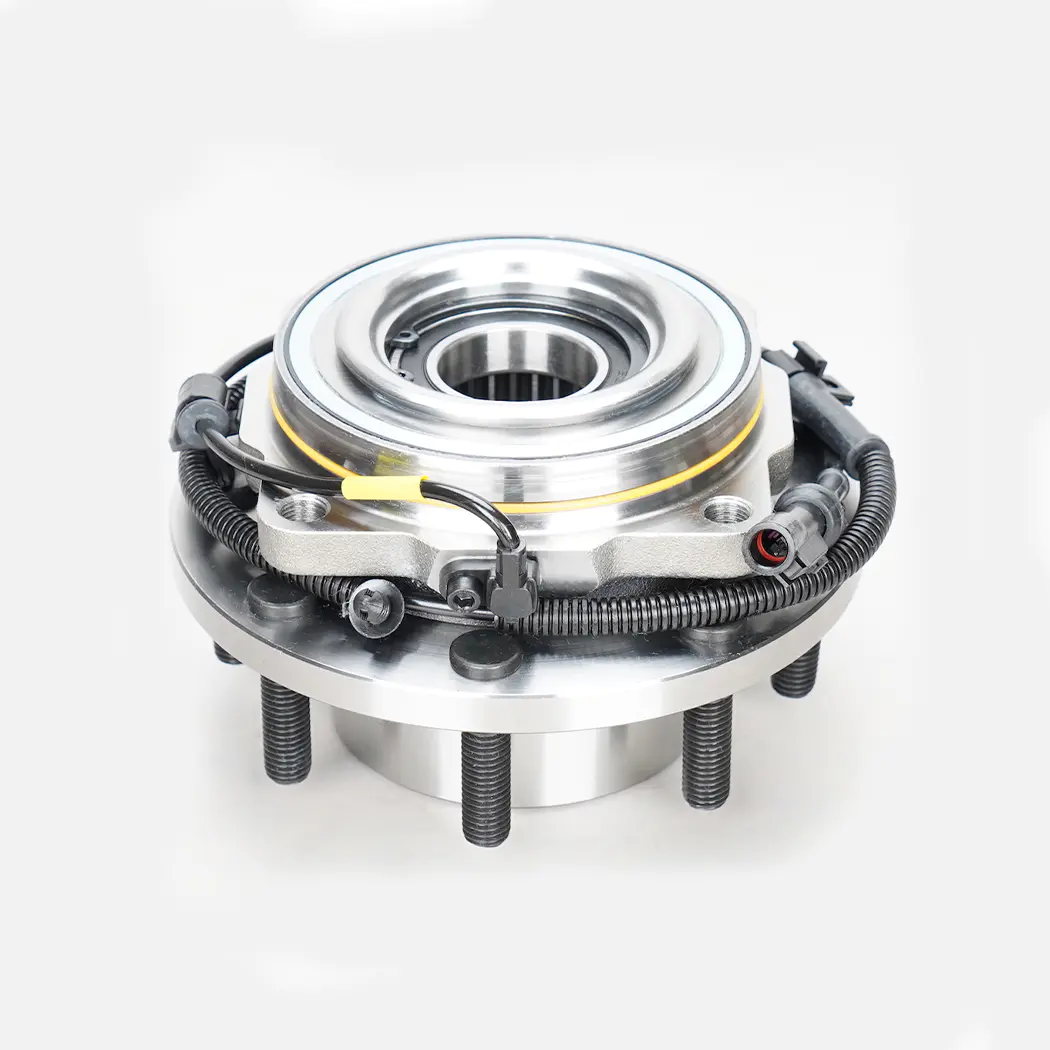
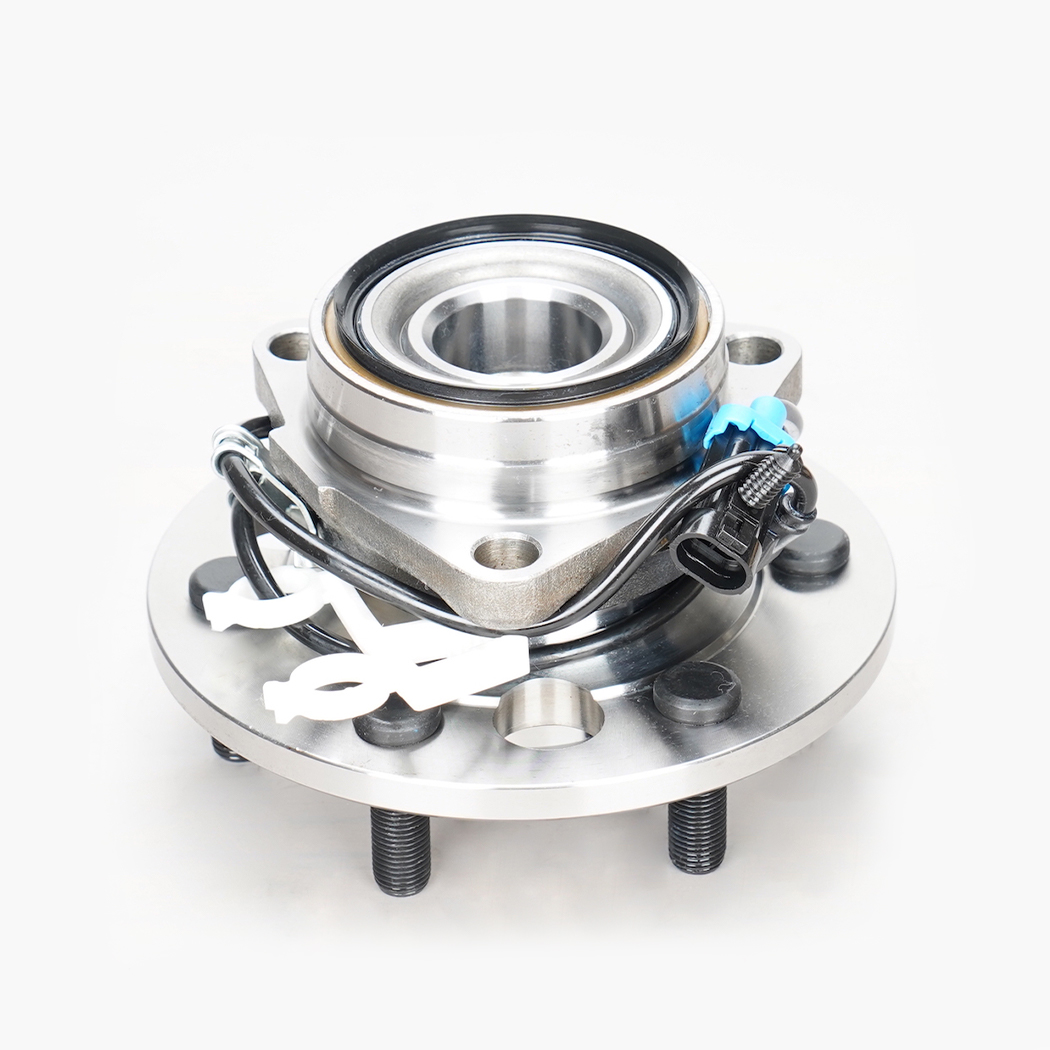
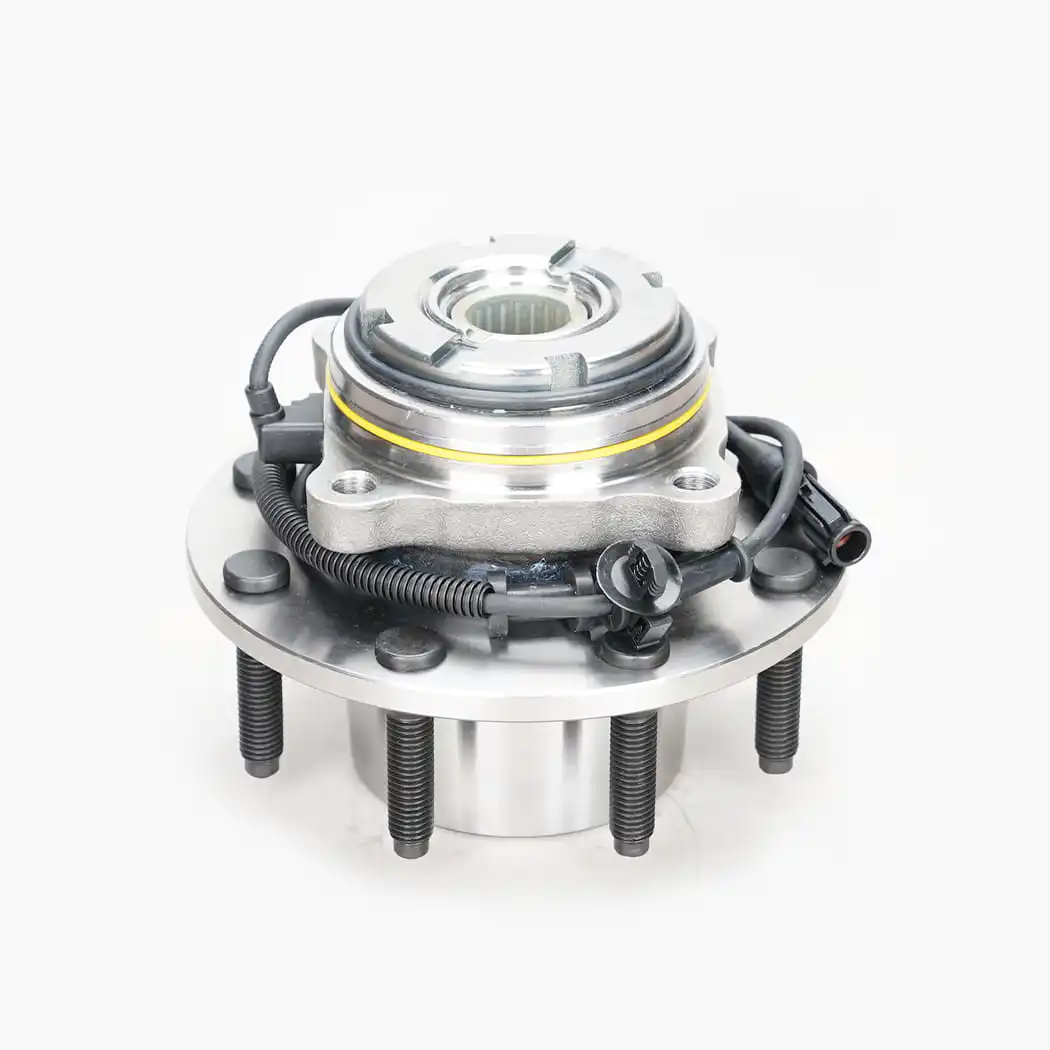
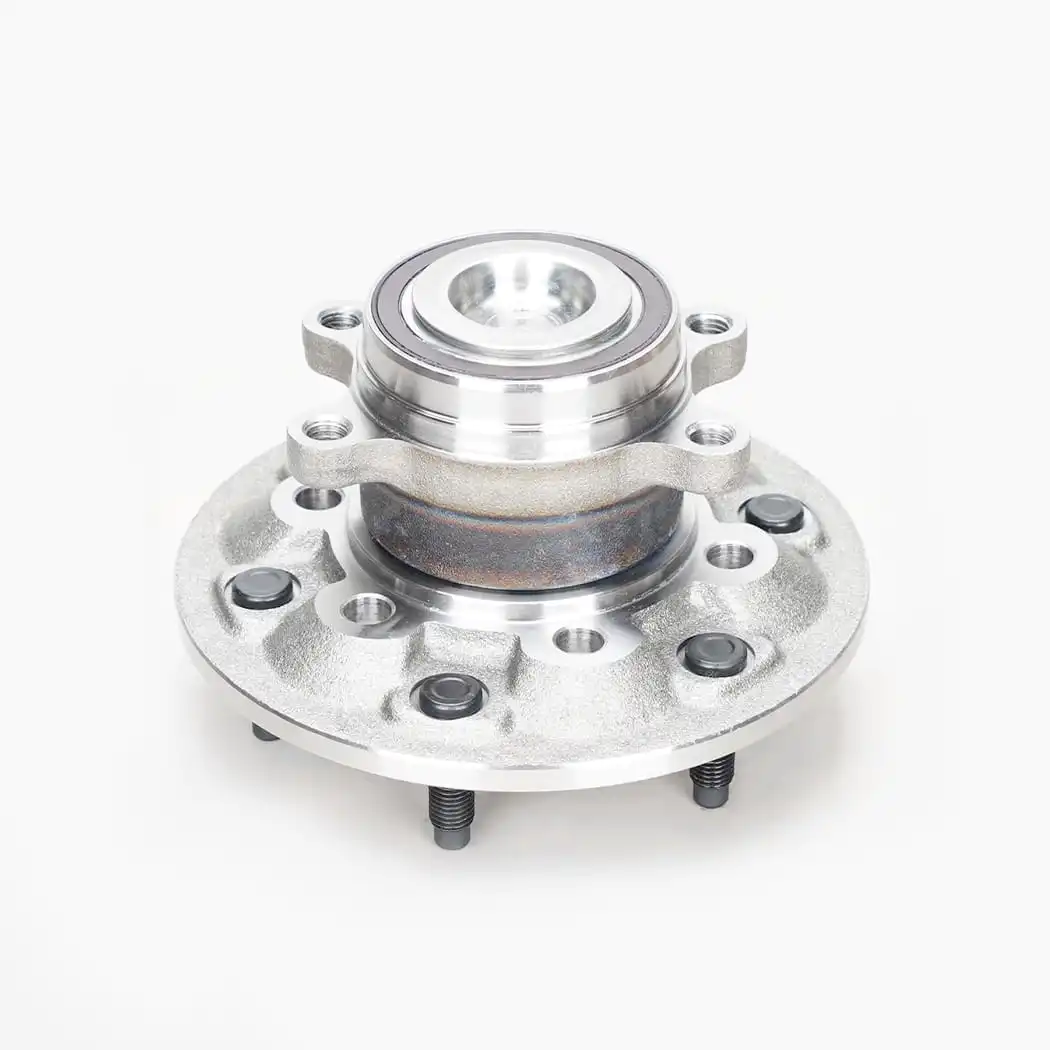
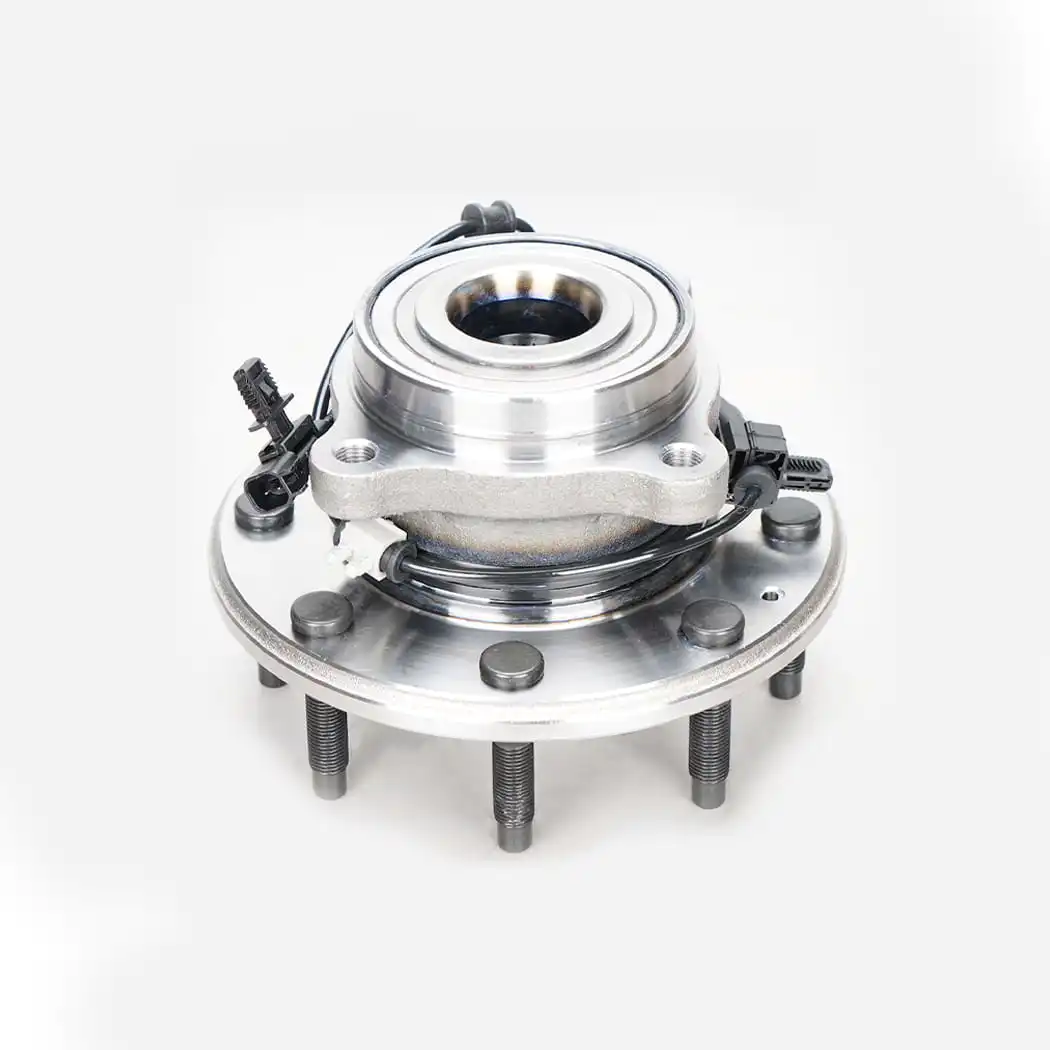
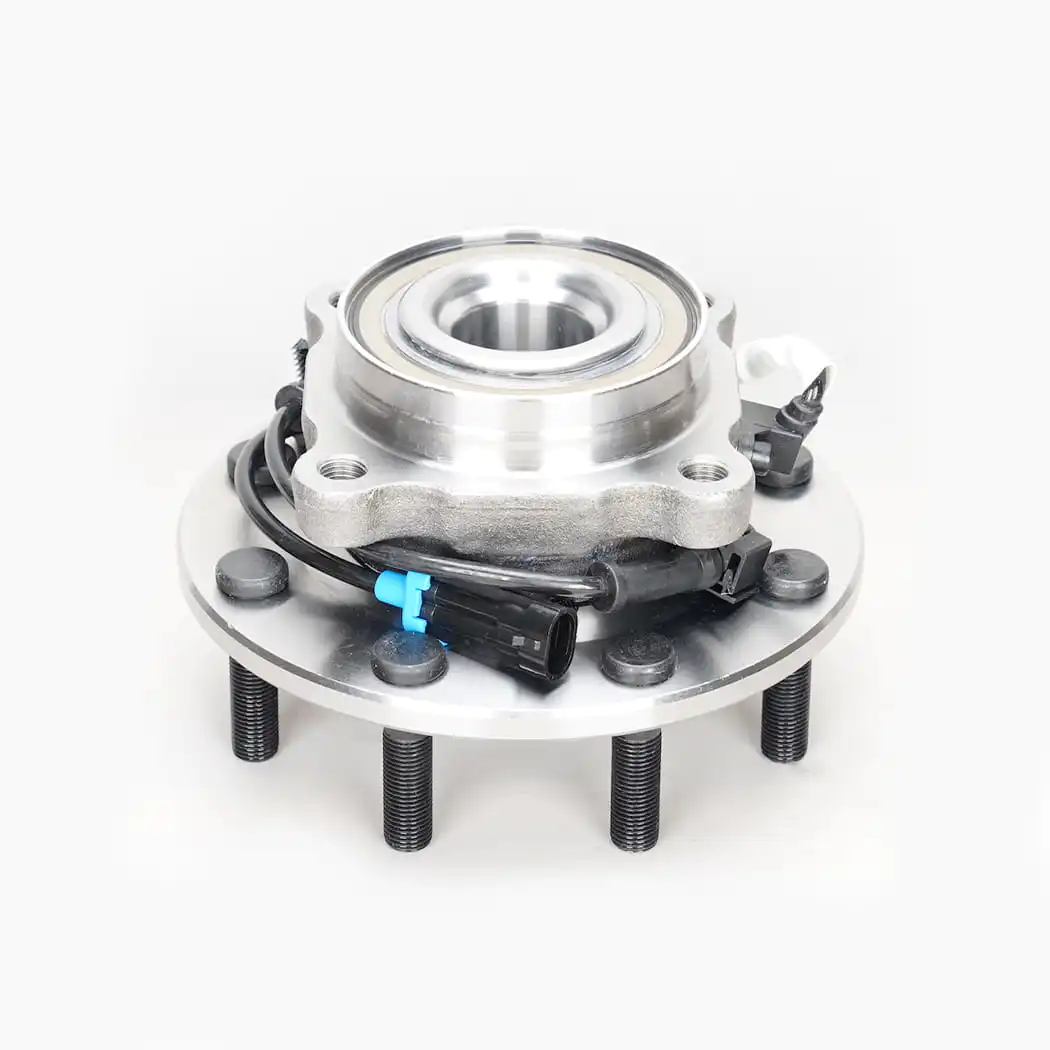
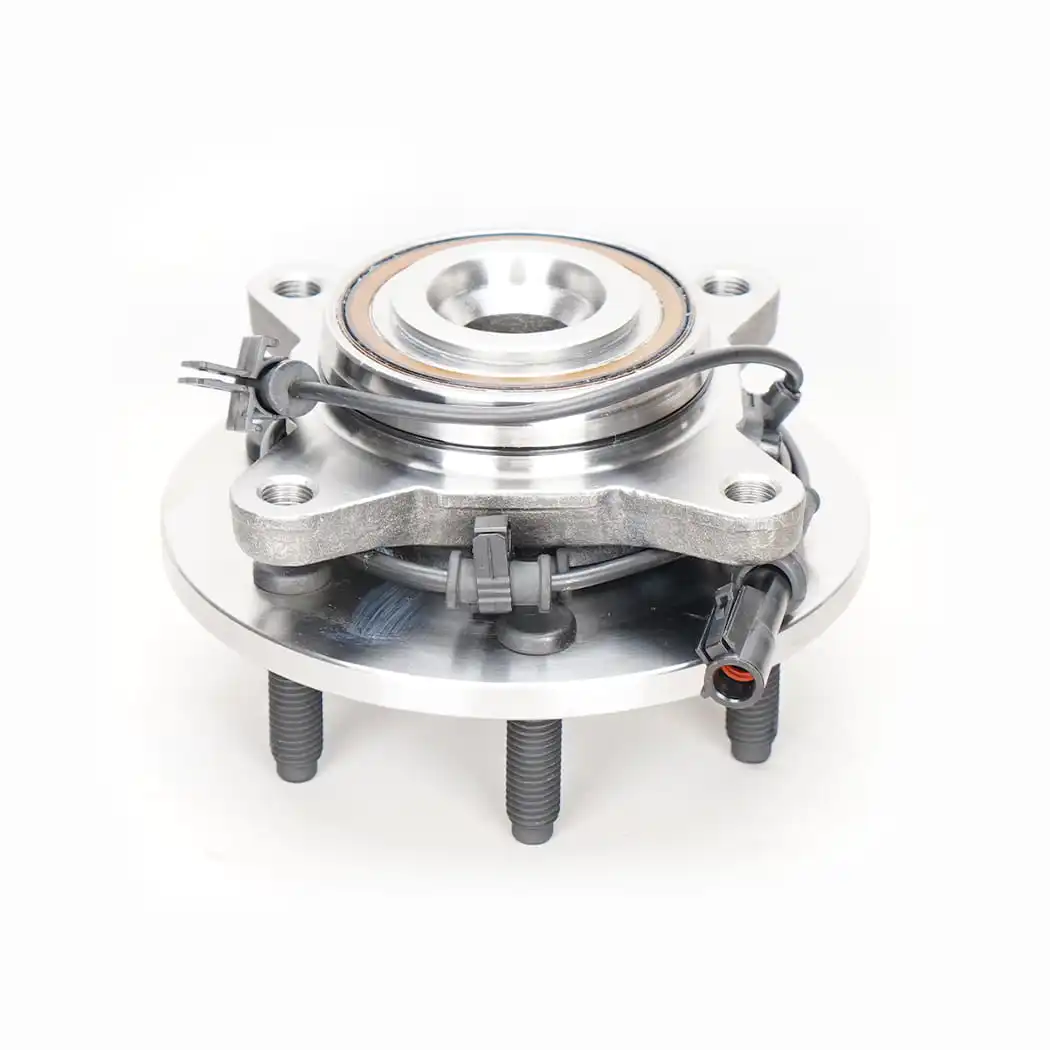
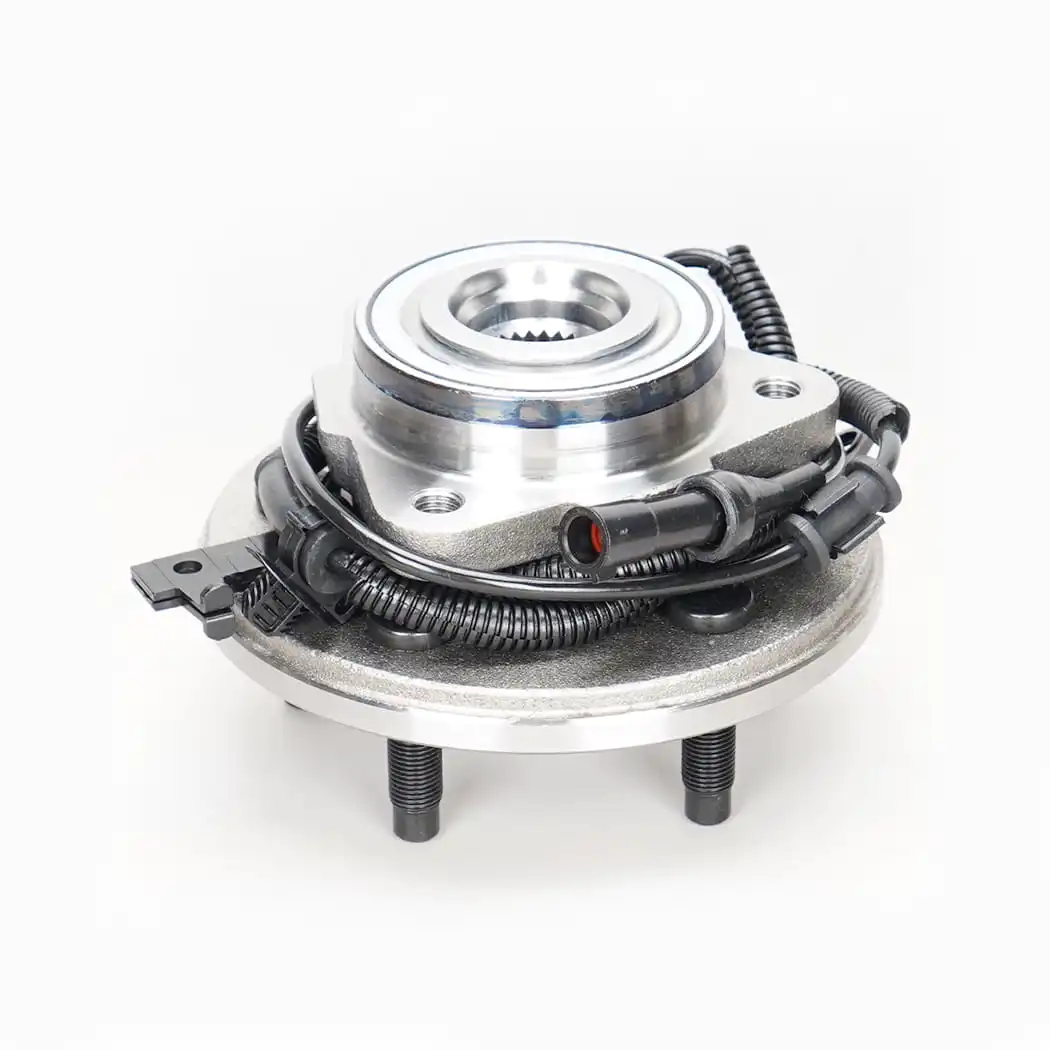
A wheel hub assembly is the central component that connects your vehicle's wheel to the axle and keeps everything spinning smoothly and safely. It's a self-contained unit that combines the wheel bearing, hub, and in most modern vehicles, the ABS wheel speed sensor — all pre-pressed together into a single bolt-on assembly. When you turn your steering wheel or press the brakes, the hub assembly is right in the middle of making that work correctly.
Older vehicles used serviceable wheel bearings that could be repacked with grease and adjusted independently. Today's cars, trucks, and SUVs almost universally use a sealed hub bearing assembly instead — a unit that's designed to be replaced as a whole when it wears out, rather than disassembled and rebuilt. This makes maintenance simpler but means you need to recognize the warning signs before the bearing fails completely and causes a safety issue.
A worn wheel hub bearing assembly doesn't always fail suddenly. It usually gives you weeks or even months of warning — if you know what to listen and feel for. Catching these symptoms early makes the difference between a straightforward repair and a much more expensive one.
This is the most common symptom of a bad front wheel hub assembly or rear hub bearing. The noise is typically a low, cyclic grinding or humming sound that changes with vehicle speed. A key diagnostic trick: if the noise gets louder when you gently swerve the car to one side and quieter when you swerve the other way, the bearing on the side that gets louder is the one failing. That's because lateral load transfer shifts weight onto the damaged bearing, amplifying the noise.
As the wheel hub bearing assembly wears further, the internal balls or rollers develop flat spots and rough patches. This creates a vibration that travels up through the suspension and into the cabin. You might feel it in the steering wheel if a front hub is affected, or through the seat and floor for a rear hub assembly issue. This vibration often gets progressively worse at highway speeds.
Because the wheel speed sensor is integrated directly into the hub assembly on most modern vehicles, a failing hub can trigger ABS or traction control warning lights. As the bearing wears and develops looseness, the sensor ring inside can become misaligned or damaged, sending incorrect or inconsistent speed readings to the car's computer. If you see these lights alongside any noise or vibration, the hub assembly is a prime suspect.
In advanced stages of failure, the internal bearing races wear enough to create noticeable play in the wheel. You can check for this by jacking up the vehicle, grabbing the tire at the 12 o'clock and 6 o'clock positions, and trying to rock it in and out. Any detectable play — even a few millimeters — indicates a worn wheel hub unit that needs replacement immediately. At this stage, driving the vehicle is genuinely dangerous.
While they serve the same fundamental purpose, front and rear hub assemblies have meaningful differences in design and complexity depending on your vehicle's drivetrain layout.
| Feature | Front Wheel Hub Assembly | Rear Wheel Hub Assembly |
| Primary Function | Steering, braking, and drive (on FWD/AWD) | Braking and drive (on RWD/AWD) |
| CV Axle Interface | Yes, on FWD and AWD vehicles | Yes, on RWD and AWD vehicles |
| ABS Sensor Included | Usually yes (integrated) | Usually yes (integrated) |
| Complexity | Higher — must accommodate steering knuckle and CV axle | Generally simpler on non-driven rear axles |
| Typical Labor Time | 1–2 hours per side | 45 min–1.5 hours per side |
| Common Failure Rate | Higher due to steering and drive loads | Lower on non-driven axles |
Most wheel hub bearing assemblies are designed to last between 85,000 and 100,000 miles under normal driving conditions. However, this varies significantly depending on road conditions, driving habits, and how often the vehicle is exposed to water, mud, and road salt. Vehicles driven regularly on rough roads or in areas that use heavy road salt in winter often see hub assemblies fail much earlier — sometimes as soon as 50,000–60,000 miles.
Potholes and curb impacts are particularly hard on hub bearings because they send sharp, high-force shock loads directly through the bearing. A single serious pothole hit can accelerate bearing wear noticeably. Overloading a vehicle — carrying cargo or towing beyond the rated capacity — also places excessive radial and axial loads on the hub assembly and shortens its lifespan.
When you purchase a replacement wheel hub assembly, most quality units include everything needed for a direct bolt-on installation. Here's what a complete kit typically contains and what each part does:
Replacing a wheel hub bearing assembly is a job that a mechanically confident DIYer can handle with the right tools. Budget about two hours for a front hub on a front-wheel-drive car, slightly less for a rear hub. Here's the full process.
With the wheel still on the ground, use your breaker bar to crack loose the large axle nut in the center of the hub. This nut is torqued to 150–200 ft-lbs on most vehicles, so you need the ground resistance to loosen it without the wheel spinning. Remove the nut completely and set it aside — most manufacturers recommend replacing it rather than reusing it.
Jack up the vehicle, secure it on jack stands, and remove the wheel. You'll now see the brake rotor and hub assembly. Remove the brake caliper (two bolts, usually 12–14mm) and hang it with a wire hook so the brake line isn't stressed. Slide the brake rotor off the hub. If it's stuck, a few sharp taps with the dead-blow hammer on the rotor face will break it free.
Trace the ABS sensor wire from the hub assembly to its connector, which is usually clipped to the strut or inner fender. Disconnect it carefully — the plastic clips can be brittle on older vehicles. If the sensor is a separate bolt-on unit, remove its mounting bolt as well. Spray penetrating oil on the hub mounting bolts at this point and let it soak for 10 minutes.
The hub typically bolts to the steering knuckle with three or four bolts from behind. Remove these bolts and pull the hub assembly forward off the CV axle shaft. It may need some persuasion with a pry bar if corrosion has bonded it to the knuckle. Never hammer directly on the bearing housing — use a block of wood to protect the surface if you need to tap it free.
Clean the mating surface on the steering knuckle with a wire brush and apply a thin coat of anti-seize to prevent future corrosion bonding. Slide the new hub assembly onto the CV axle and align it with the knuckle. Start all mounting bolts by hand before torquing them in a cross pattern to the spec in your vehicle's service manual — typically 60–85 ft-lbs. Reconnect the ABS sensor connector, reinstall the rotor and caliper, and torque the new axle nut to spec.
The market is flooded with cheap imported hub assemblies that look identical to quality units but fail in a fraction of the time. Since you're pulling the wheel apart anyway, it makes sense to buy a part that will last. Here's what separates a good hub assembly from a throwaway one.
Understanding what you're actually paying for helps you make smarter decisions about whether to DIY or go to a shop, and whether you're being quoted a fair price.
| Cost Component | DIY Cost | Shop Cost |
| Hub Assembly (budget brand) | $35–$70 | $35–$70 (parts) |
| Hub Assembly (OEM-grade brand) | $80–$180 | $80–$180 (parts) |
| Labor (front hub, FWD) | $0 (your time) | $120–$220 |
| Labor (rear hub, non-driven) | $0 (your time) | $80–$150 |
| Axle Nut (replacement) | $5–$15 | $5–$15 (parts) |
| Total Estimate (per wheel) | $90–$200 | $220–$420 |
If a shop quotes you significantly more than the high end of these ranges, ask for an itemized breakdown. Unusually high quotes sometimes reflect inflated parts markups or unnecessary additional services being bundled in. That said, if your vehicle has corroded fasteners or a particularly difficult hub design, additional labor time can be warranted.
This is one of the most debated questions in DIY automotive repair. The general rule of thumb from most mechanics is: if one hub bearing assembly has failed and the other side has similar mileage and exposure, replacing both at the same time is worth serious consideration. Both bearings have been subjected to the same road conditions and load cycles, so if one has worn to the point of failure, the other is likely not far behind.
The practical argument is labor cost. If you're already doing the job on one side — removing the wheel, brake caliper, and rotor — adding the other side only adds about 45–60 minutes and the cost of a second hub assembly. Compare that to pulling everything apart again a few months later, and doing both at once is usually the smarter financial decision. That said, if the opposite-side hub was recently replaced or shows no symptoms and has significantly fewer miles on it, replacing only the failed unit is perfectly reasonable.
Modern sealed hub assemblies don't require regular maintenance in the traditional sense — there's no grease to pack or bearing to adjust. But there are driving and maintenance habits that genuinely extend hub bearing life and help you avoid premature failures.
The wheel hub assembly is a relatively unglamorous but critically important part of your vehicle's safety system. It keeps your wheels attached, your brakes effective, and your ABS functioning correctly. When it starts to go, the symptoms are hard to ignore — and ignoring them is genuinely dangerous. The good news is that replacement is a straightforward job with quality parts available at reasonable prices, whether you're doing it yourself or taking it to a trusted shop.
The most important things to get right are confirming the exact fitment for your vehicle and position, choosing a quality brand rather than the cheapest option on the shelf, and torquing everything back to spec. Do those things and your new hub bearing assembly should give you another 80,000–100,000 miles of reliable, quiet service.
• ADD: 42705 Grand River Avenue, Suite 201, Novi. Michigan 48375, USA.
© Copyright 2017 HANGZHOU HANJI AUTO PARTS.CO.,LTD. All Rights Reserved. Wheel Hub Unit Manufacturer